
Description
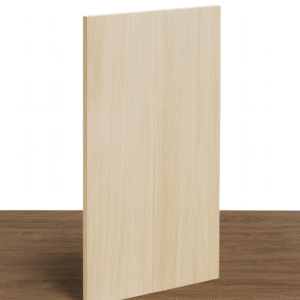
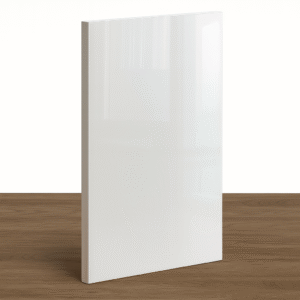
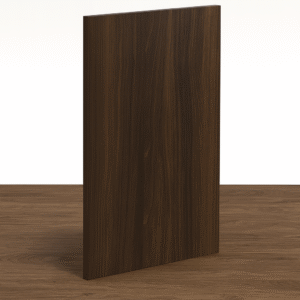
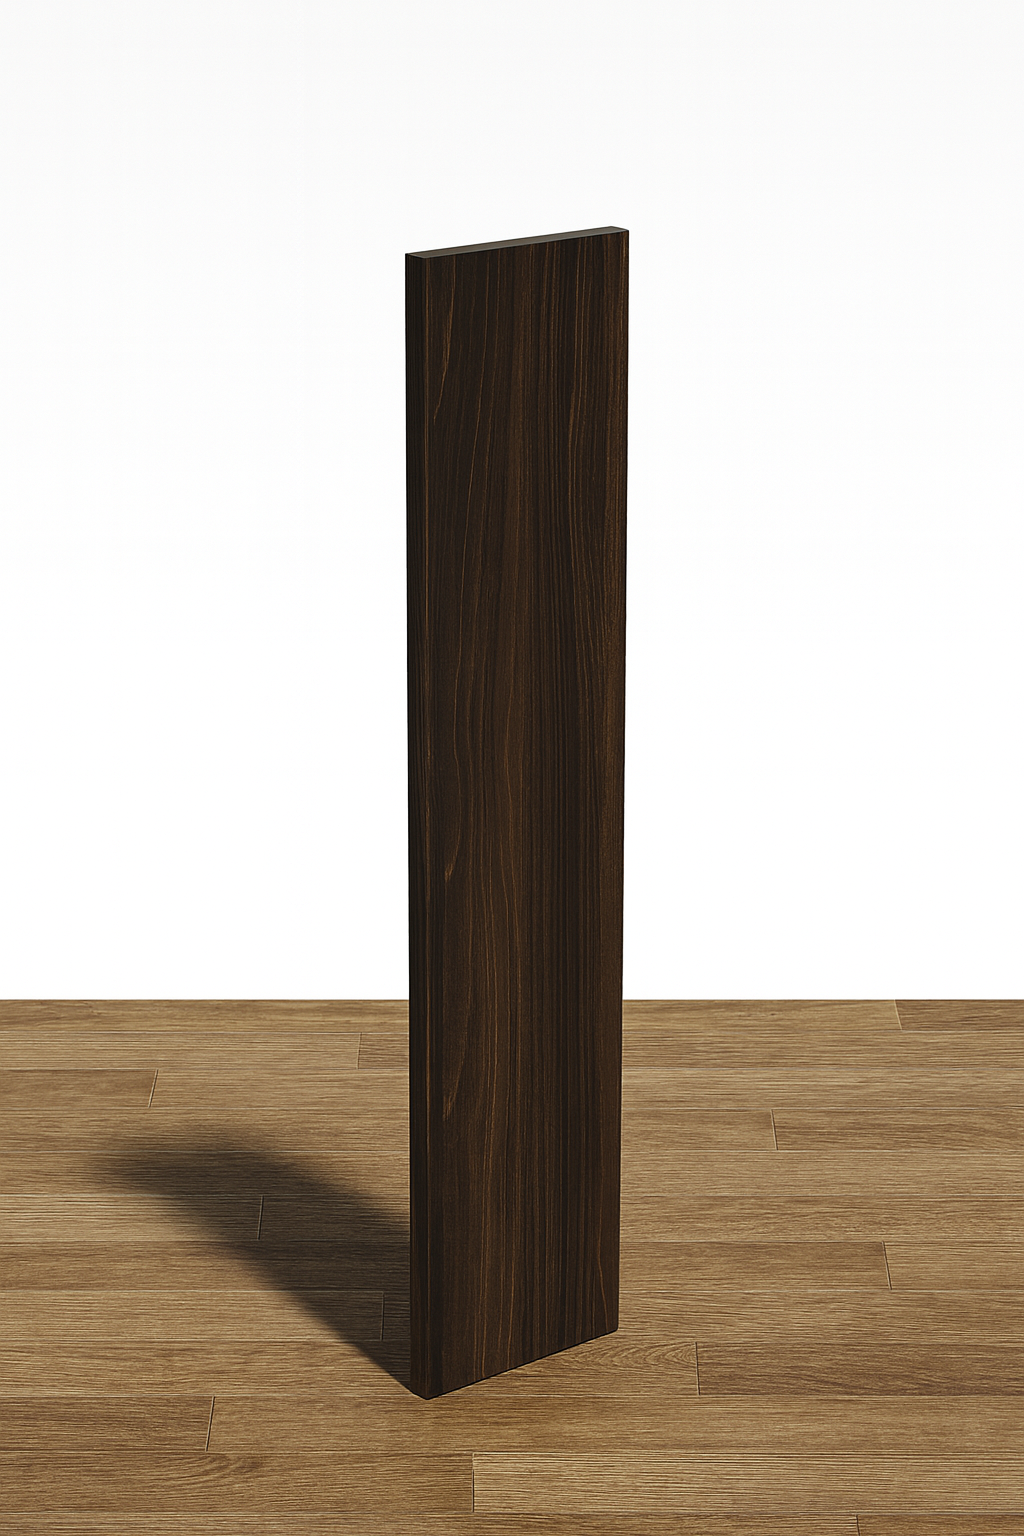
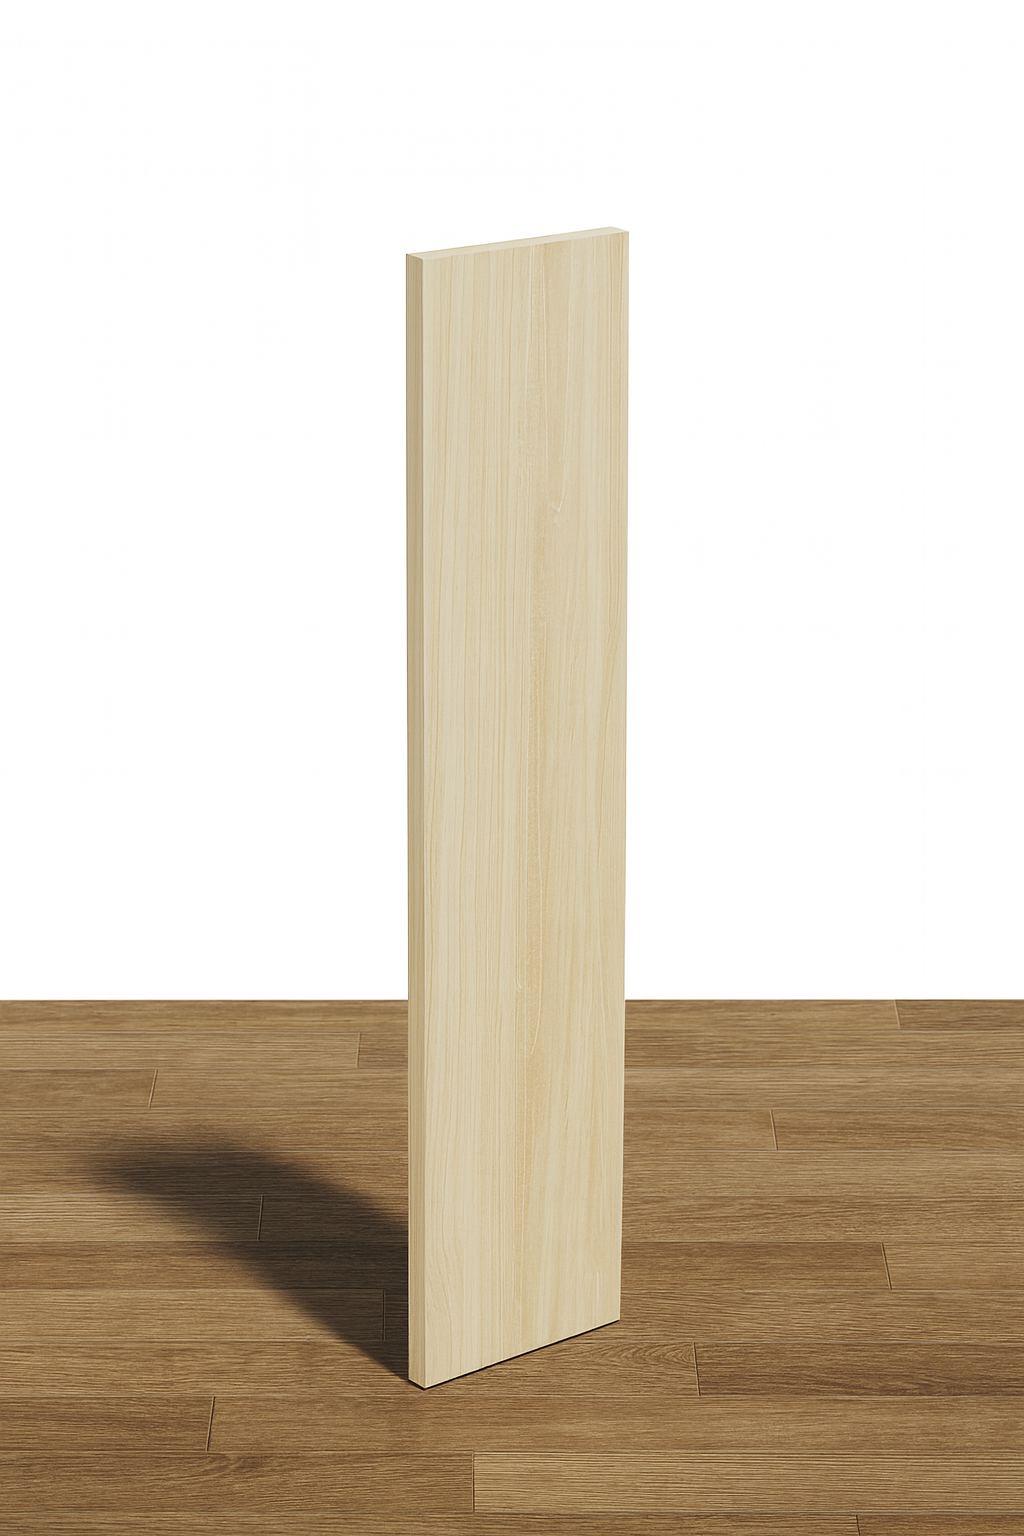
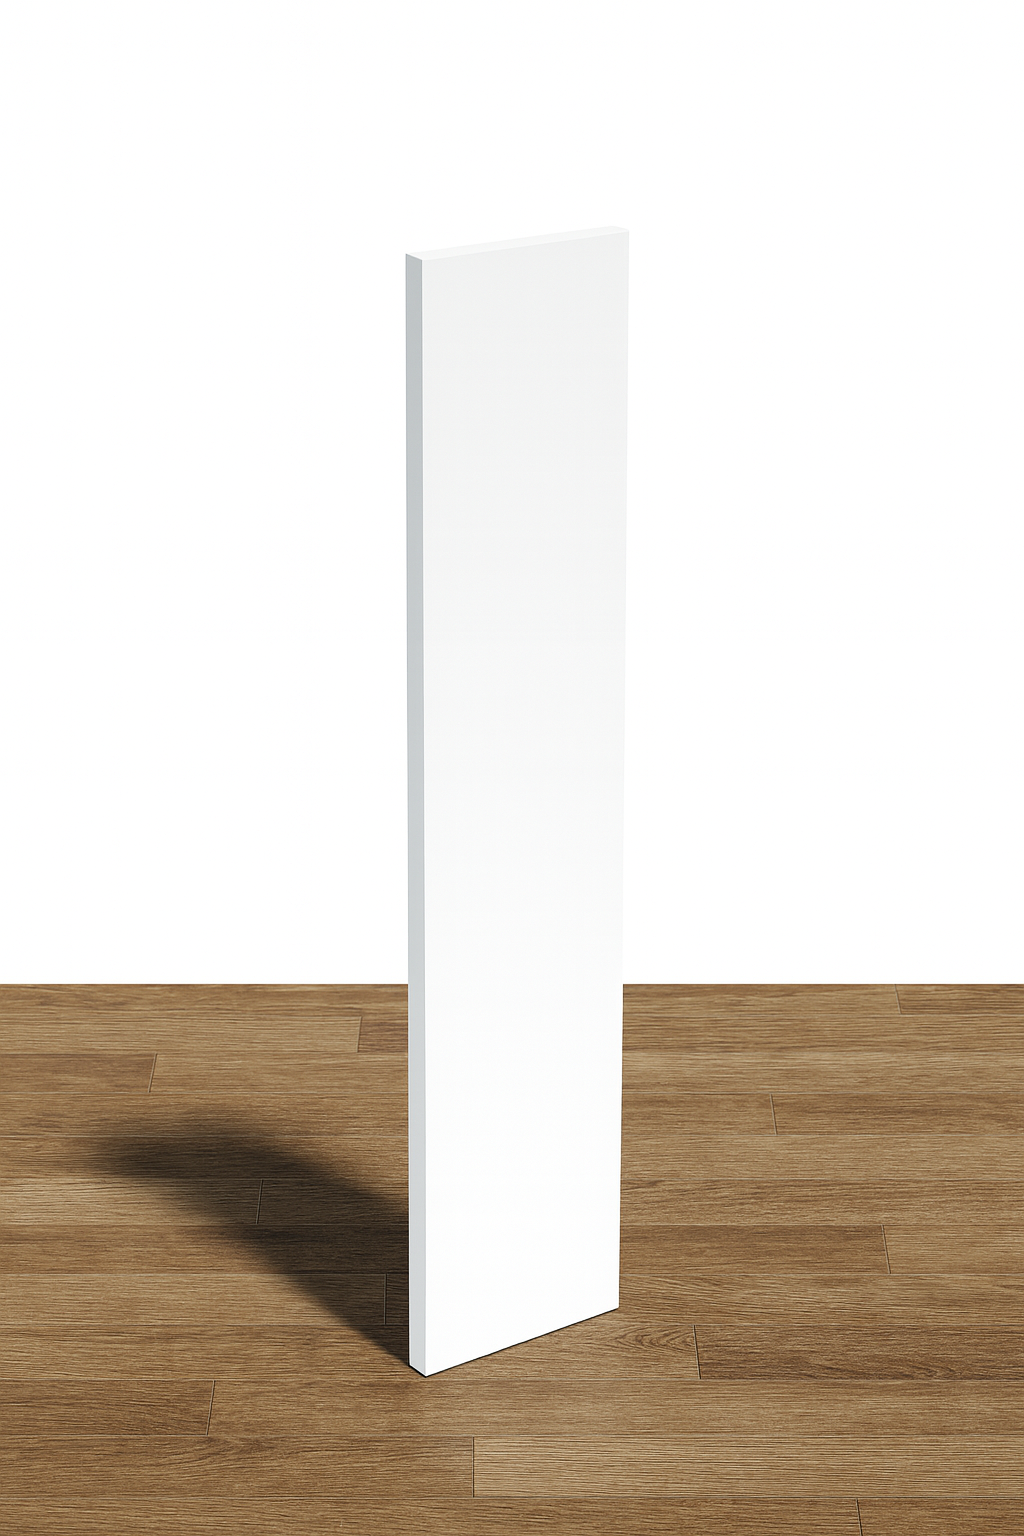
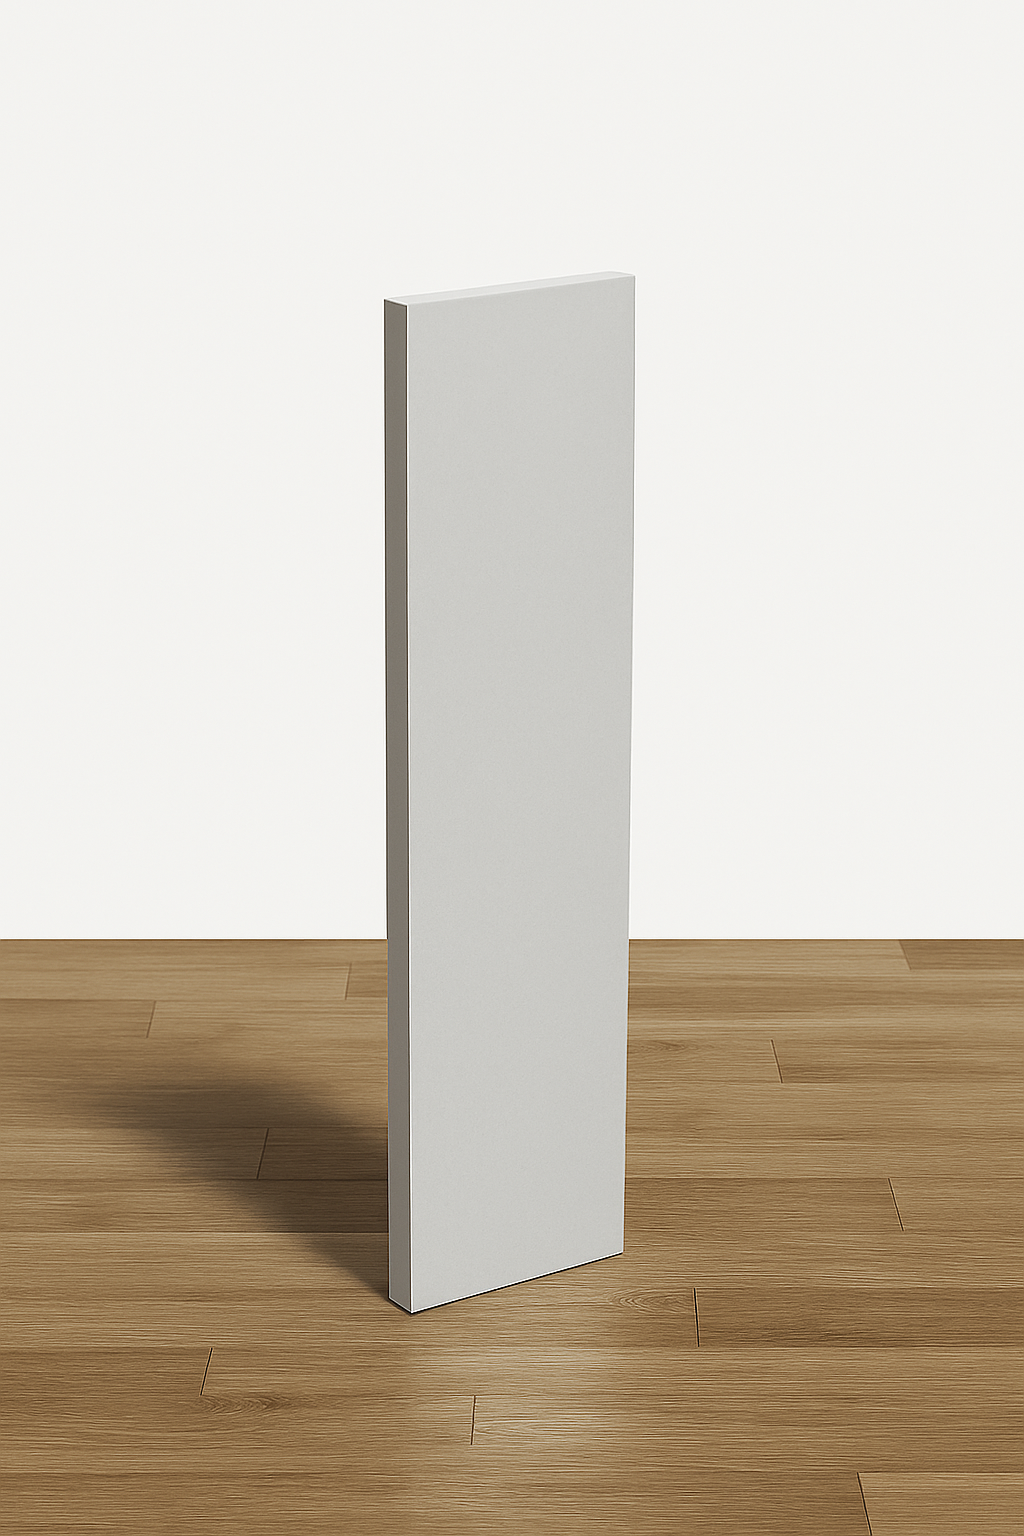
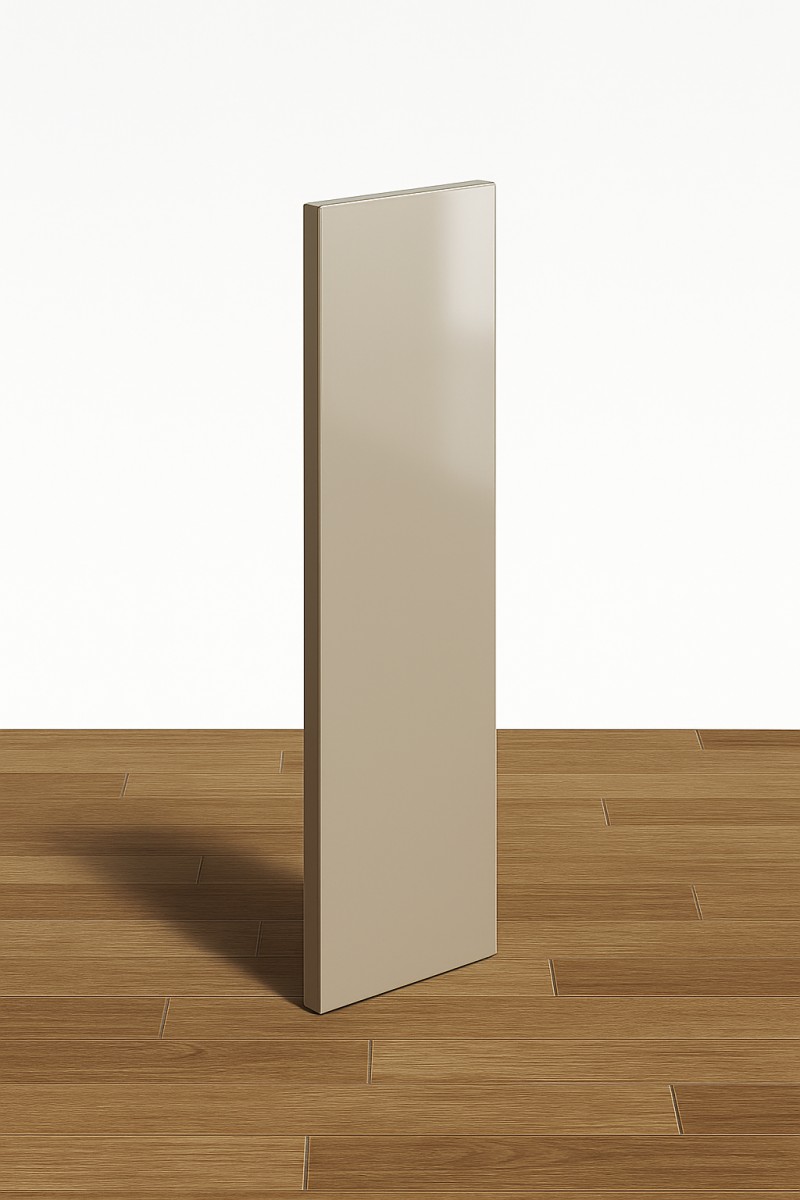
6″ x 30″ to 96″ Filler: The Key To Flawless Cabinetry
A 6″ x 30″ to 96″ filler is the essential component for achieving a seamless, custom-built look in your kitchen, effortlessly bridging gaps between cabinets for a truly polished finish. At rtadepot.ca, we provide these elegant solutions to help you complete your dream kitchen renovation with confidence and style. This vital trim piece elevates your cabinetry design, ensuring a flawless integration that enhances both form and function in your beautiful new space.
What Is a Cabinet Filler and Why Is It Essential for a Designer Kitchen?
A cabinet filler is a finished strip, typically 3 to 6 inches wide, used to close gaps between cabinets and walls. It’s essential for creating a seamless, built-in look and ensuring cabinet doors open without obstruction, transforming a standard layout into a high-end, functional design.
Are you looking at the gaps between your cabinets or between a cabinet and a wall, feeling like something is missing? This is a common challenge in kitchen design, where standard-sized cabinets meet the unique dimensions of a room. The solution is simpler and more elegant than you might imagine. A cabinet filler, also known as a filler panel or trim panel, is a piece of finished wood designed to perfectly match your cabinetry and fill these awkward empty spaces. It is the professional’s secret to transforming a standard installation into a high-end, integrated masterpiece.
This small but mighty component does more than just fill a gap. It ensures that your cabinet doors and drawers have enough clearance to open fully without hitting walls or adjacent appliances. This is particularly crucial for corner units or any kitchen drawer base placed next to a wall. By using a filler strip, you create a functional and aesthetically pleasing result, turning a potential design flaw into a feature of seamless beauty. It’s an indispensable tool for anyone installing ready-to-assemble cabinets Toronto or undertaking a custom kitchen project. This approach allows you to achieve a bespoke look that feels intentionally designed for your home.
What Are the Core Benefits of Using Filler Panels in a Renovation?
Filler panels provide four key benefits: they create a flawless, custom built-in aesthetic, guarantee full cabinet functionality by providing clearance, expertly conceal uneven wall gaps, and offer a cost-effective way to achieve a high-end look with standard-sized RTA cabinets.
Integrating a filler panel into your kitchen plan offers a multitude of benefits that address the core frustrations of an outdated or poorly planned space. If you’ve struggled with a cluttered, inefficient kitchen, this component is part of the solution for a more organized and beautiful life. According to a 2023 report by Houzz & Home, creating functional and well-designed kitchens remains a top priority, with 55% of renovating homeowners focusing on making the space more open and integrated.
- ✓Achieve a Seamless, Built-In Appearance: The primary benefit is aesthetic. A gap filler eliminates visual breaks, creating a continuous, uninterrupted line of cabinetry. This mimics the look of expensive, fully custom work and gives your kitchen a polished, professional feel. It’s the perfect way to elevate modern flat panel cabinet doors for a sleek, contemporary space.
- ✓Ensure Full Functionality: Without a filler, a cabinet door or drawer handle might collide with a wall or another handle, preventing it from opening completely. This is not only frustrating but can also damage your new cabinets over time. A spacer panel provides the necessary clearance, guaranteeing smooth and complete operation of every door and drawer.
- ✓Corrects Wall Irregularities: Few homes have perfectly straight walls. A filler panel can be scribed, or custom-cut on-site, to follow the contour of an uneven wall. This ensures a tight, perfect fit where a cabinet meets the wall, concealing any imperfections and enhancing the overall quality of the installation. This is a vital technique for DIY kitchen cabinets Mississauga projects to achieve a professional outcome.
- ✓Cost-Effective Customization: Using fillers with standard-sized RTA cabinets is a brilliant way to get a custom fit without the custom price tag. This strategy allows you to use more affordable, readily available cabinets, like a high-quality RTA base cabinet Canada, and still achieve a flawless result tailored to your specific room dimensions. This is even a smart upgrade for a cabinet for rental unit kitchen, adding significant appeal and functionality.
How Do You Install a Cabinet Filler Panel Correctly?
Proper installation involves four main stages: accurately measuring the gap, cutting the filler to size (scribing if needed for uneven walls), attaching it securely to the cabinet stile with glue and screws *before* installation, and then installing the cabinet-and-filler unit as one piece for a perfect fit.
Empower yourself with the knowledge to install your cabinet filler like a pro. This guide makes the process straightforward, ensuring a perfect fit and a beautiful result for your new kitchen cabinets.
Tools and Materials Needed: Measuring Tape, Pencil, Level, Power Drill with a small pilot bit, Cabinet Clamps, Table Saw or Circular Saw with a fine-tooth blade (60-80 teeth), Wood Glue, and 1.25-inch Cabinet Screws.
- 1Measure the Gap: Carefully measure the width of the gap at the top, middle, and bottom. Use the largest measurement if the wall is not perfectly straight. A precise measurement is the foundation of a good fit.
- 2Cut the Filler: Transfer your measurement to the filler panel. To get a clean, splinter-free cut, place masking tape along the cut line and use a saw with a fine-tooth blade. Always cut the filler panel slightly larger than the gap (about 1/8 inch) if you need to scribe it.
- 3Scribe for a Perfect Fit: Hold the filler panel in place against the uneven wall. Use a compass or scribe tool to trace the wall’s contour onto the panel. Carefully sand or cut along this scribed line for a custom fit.
- 4Attach to the Cabinet: The best practice is to attach the filler to the cabinet stile (the vertical frame) before installing the cabinet. Apply a thin bead of wood glue to the edge of the cabinet stile for a strong bond.
- 5Clamp and Secure: Clamp the filler panel securely to the cabinet stile, ensuring it is perfectly flush with the front of the cabinet frame.
- 6Drill and Screw: From inside the cabinet, drill 2-3 pilot holes through the stile and into the filler panel. Secure it with 1.25-inch screws.
- 7Install the Cabinet: With the filler attached, you can now install the cabinet as a single unit, pushing it into place for a perfect, seamless fit against the wall.
What Is the Best Way to Care for and Maintain Cabinet Fillers?
Maintain your cabinet fillers by cleaning them with a soft, damp cloth and mild soap, drying immediately. Instantly wipe up any spills, and strictly avoid using abrasive pads or harsh chemical cleaners, which can permanently damage the finish.
Your new cabinetry, including the filler panels, is an investment in your home’s beauty and functionality. Proper care will ensure they look pristine for years to come. Here are our recommendations for maintaining that brand-new luster.
What Kind of Warranty and Support Can I Expect?
You can expect robust support and a comprehensive warranty that protects your investment. We prioritize your long-term satisfaction by standing firmly behind our product quality, ensuring you have peace of mind. For specific details on our current warranty, which covers manufacturing defects, we invite you to call us directly.
At rtadepot.ca, we stand behind the quality of our products. We believe that your peace of mind is paramount, and our policies are designed to ensure your complete satisfaction with your purchase. A great warranty is a promise of durability and a testament to the confidence we have in our cabinetry. It protects your investment and provides assurance that you are choosing a product built to last. For complete and detailed information regarding our specific warranty terms, coverage, and our supportive returns process, we encourage you to speak directly with our team. We are here to provide clarity and support, ensuring you feel confident and happy with your decision. Your long-term joy in your new kitchen is our ultimate goal.
How Can Fillers Be Used Creatively in Kitchen Design?
Beyond just filling gaps, fillers can be used creatively to frame appliances for a built-in look, create perfect visual symmetry around windows or hoods, solve functionality issues in corners, and smooth transitions between cabinets of different heights, significantly elevating the overall design.
A 6″ x 30″ to 96″ filler is more than just a functional piece; it is a gateway to creative design solutions that elevate your kitchen from standard to stunning. Thinking beyond its basic purpose can unlock new levels of organization and style.
- ✓Frame Your Appliances: Use filler panels on either side of your refrigerator or stove to create a purposeful, built-in look. This makes appliances feel like a deliberate and integrated part of the cabinetry design rather than just standalone units.
- ✓Create Symmetrical Balance: In a kitchen with a prominent feature like a range hood or a window, using filler panels on either side of the surrounding cabinets can create a pleasing visual symmetry. This balanced approach brings a sense of calm and order to the entire space.
- ✓Corner Solutions: In a corner, a filler panel is essential to allow adjacent drawers and doors to open without colliding. This turns a potentially awkward corner into a fully functional part of your kitchen layout.
- ✓Transitioning Heights: If you are transitioning from a tall pantry cabinet to a standard RTA base cabinet Canada, a filler panel can help smooth the visual transition, creating a more cohesive and professionally designed look.
Your dream of a beautiful, organized, and highly functional kitchen is within reach. You no longer need to live with an outdated space that doesn’t serve your family’s needs. Let go of the frustration of clutter and inefficiency.
Imagine a kitchen where everything has its place, where the design flows seamlessly, and where you feel a sense of pride and joy every time you walk in. This transformation is closer than you think. To resolve your design questions and receive expert advice tailored to your unique space, contact our friendly team at rtadepot.ca. We are ready to help you select the perfect cabinets, fillers, and accessories to bring your vision to life.
Call us now at +1 888 973 5636 or visit our website at https://www.rtadepot.ca/ for a personalized consultation and begin your journey to a more beautiful home today.