The Ultimate Guide to the Best kitchen cabinet in Canada: Transforming Your Home
The kitchen is universally recognized as the heart of the Canadian home. When embarking on a renovation project, a significant decision is selecting the right storage. Cabinetry dictates the visual aesthetic and functional layout, accounting for nearly 40% of the total renovation budget on average. Recently, modular storage has emerged as a popular alternative to custom builds, capturing over 65% of the market share in 2026. Finding the perfect kitchen cabinet can completely redefine your cooking space.
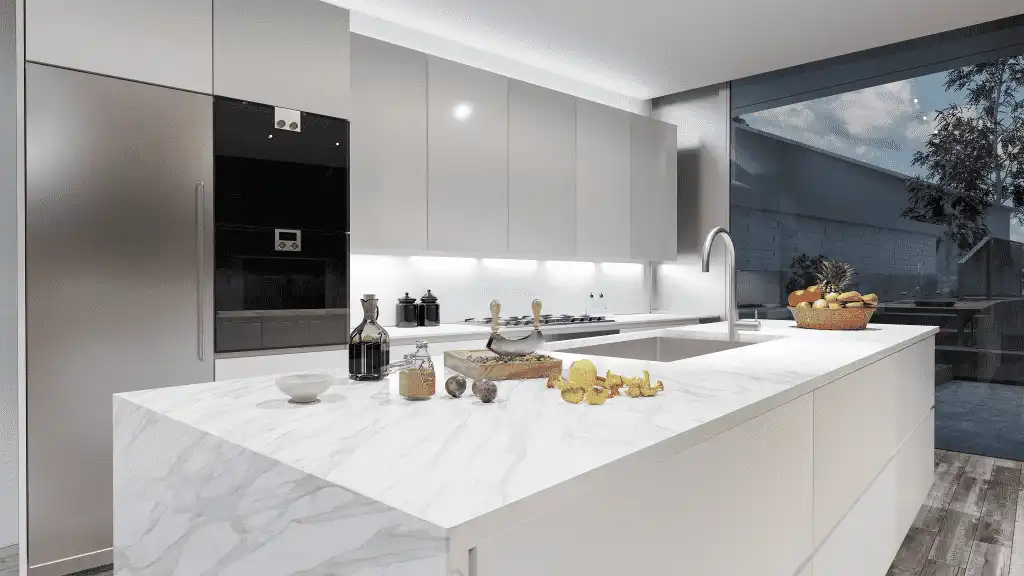
Historically, achieving a luxurious look meant hiring expensive carpenters. Today, advancements in manufacturing have shifted this paradigm in Canada. An RTA kitchen cabinet provides a remarkable balance of premium quality and cost-effectiveness. By shipping flat-packed to the consumer, these units eliminate massive overhead costs. You can often find a low price kitchen cabinet without sacrificing durability, leveraging the latest engineering standards.
This guide explores every facet of modular storage. We cover the manufacturing process, material quality, and navigating renovations in diverse Canadian environments. Whether upgrading a compact 600 sq.ft condo layout or redesigning a sprawling 2,500 sq.ft suburban space, mastering modular storage empowers you. You can execute a flawless, budget-friendly transformation using an ikea cabinet alternative.
1. What Is an RTA kitchen cabinet?
Ready-to-Assemble units, frequently called flat-pack storage, are exactly what their name implies. They are manufactured in highly efficient facilities where precision machinery cuts every component to within 0.1mm accuracy. Choosing a flat pack kitchen cabinet is an excellent way to achieve a custom look. Instead of factory assembly, the manufacturer packages the flat pieces into compact boxes, reducing freight volumes by up to 70%.
1.1. The Precision Manufacturing Process
The creation of modern RTA units relies on computer numerical control (CNC) machining. This advanced technology ensures every single cut is exact. This precision guarantees that when the components arrive at your Canadian home, they fit seamlessly. The locking mechanisms align perfectly, creating a structural integrity that rivals pre-assembled options and can support up to 250 lbs per standard unit.
1.2. Premium Materials Used in Modern Construction
An outdated myth suggests flat-pack furniture equates to flimsy particleboard. High-quality RTA options today utilize premium materials for long-term durability, often backed by 5 to 10-year warranties.
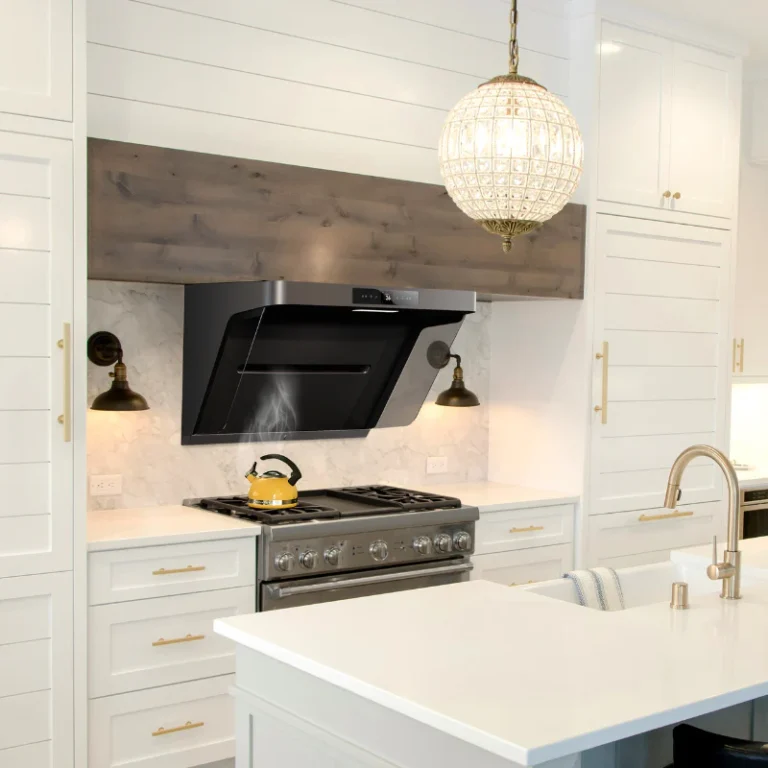
- Cabinet Boxes: Premium suppliers utilize 1/2-inch to 5/8-inch furniture-grade plywood. Plywood offers superior structural strength and vital resistance to moisture.
- Doors and Face Frames: The visible exterior components are typically crafted from solid wood like birch or maple, providing a robust facade. For those looking at nieu cabinet doors, replacing fronts is also a highly viable and eco-friendly option in Canada.
- Painted Finishes: High-density MDF is frequently used for center panels because it prevents cracking. This ensures a flawless painted surface for years, resilient against temperature fluctuations.
1.3. Upgraded Hardware and Functional Features
High-end RTA options do not compromise on internal mechanics. They come standard with luxury hardware that would be an expensive upgrade elsewhere. Homeowners can expect 5/8-inch solid wood, dovetailed drawer boxes. Six-way adjustable, concealed soft-close door hinges rated for 100,000 open/close cycles are standard. This elevates the tactile experience, ensuring doors close silently every time.
2. Why Are RTA Kitchen Cabinets the Most Financially Smart Choice in 2026?
“In 2026, opting for an RTA kitchen cabinet can save homeowners an average of 40% to 55% compared to custom cabinetry. With the Canadian home improvement market experiencing a 6.2% inflation on labor costs, flat-pack solutions bypass expensive factory assembly and drastically reduce shipping fees, making them the premier choice for budget-conscious renovations.”
The decision to utilize flat-pack storage is primarily driven by exceptional value. Home renovations in Canada represent a significant financial investment, with modern kitchen remodels frequently exceeding $35,000. Optimizing the budget without sacrificing quality is a universal goal. Securing a low price kitchen cabinet does not mean you sacrifice structural integrity; rather, it reflects a more efficient supply chain model that eliminates middleman markups.
2.1. How Much Money Can You Save with RTA Cabinets vs. Custom Builds?
“Homeowners report average savings of $4,500 to $8,000 on a standard 10×10 kitchen layout when choosing RTA over custom builds. By eliminating typical $120/hour factory assembly labor rates and cutting logistics volumes, these direct-to-consumer savings preserve your budget for premium appliances.”
Custom storage requires a massive labor investment. You pay for a professional to measure, design, and build the units, which can take over 100 labor hours. RTA suppliers cut out factory assembly labor and reduce shipping costs due to flat-box packaging. These savings are passed directly to the consumer. This newly freed budget allows Canadian homeowners to invest in higher-end quartz countertops or professional-grade appliances.
2.2. Drastically Reduced Turnaround Times
Custom woodwork can take 8 to 14 weeks to be manufactured. Conversely, a pre-manufactured kitchen cabinet is typically stocked in massive 100,000 sq.ft warehouses. Once an order is placed, it can frequently be shipped within 3 to 7 business days. For individuals managing strict schedules, this rapid turnaround is an invaluable asset, minimizing household disruption.
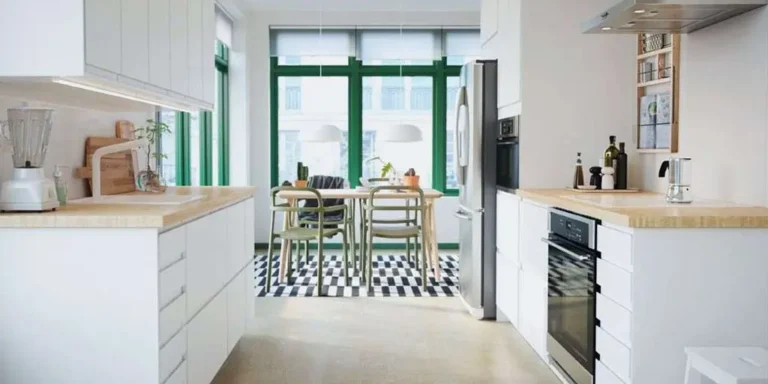
2.3. Extensive Customization and Design Flexibility
While pre-manufactured in set sizes (typically 3-inch increments), the variety of available modules allows for incredible flexibility. By utilizing different combinations of base units, you create a bespoke layout. You can easily integrate an rti cabinet style to fit specific architectural needs. The addition of customized trim, fillers, and crown molding allows for a 100% tailored aesthetic.
3. Finding a kitchen cabinet in Toronto
Renovating a property in a dense Canadian urban center requires a unique approach. Toronto homeowners face specific challenges that modular flat-pack units solve perfectly. Many local kitchen suppliers recognize the immense value a modular kitchen cabinet brings to tight spaces, noting a 35% year-over-year increase in downtown urban installations.
3.1. Adapting to Toronto Condos
The Greater Toronto Area features a massive concentration of high-rise condominiums. Renovating a condo introduces logistical hurdles like strict elevator reservations. Transporting fully assembled boxes up a freight elevator can be a nightmare. RTA storage completely circumvenes this issue. Flat-packed boxes weighing under 50 lbs each are easily transported safely through standard Canadian elevators without scratching walls.
Furthermore, footprints in downtown condos are often highly constrained to under 80 square feet. Maximizing vertical and horizontal space is mandatory. RTA providers offer specialized 18-inch slimline base units and 42-inch tall upper cabinets. This allows condo owners to achieve a highly functional culinary workspace. Every single kitchen cabinet must be utilized efficiently with pull-out organizers.
3.2. Revitalizing Historic Toronto Homes
Beyond the glass towers, the city is famous for historic housing stock over 100 years old. Undertaking a renovation in older Canadian homes requires highly adaptable materials. The modular nature of flat-pack units allows designers to creatively piece together a layout. Traditional shaker styles allow homeowners to modernize storage while honoring historical charm. Adding a single premade kitchen cabinet to an awkward 45-degree corner can brilliantly solve tricky layouts.
4. Sourcing a kitchen cabinet Mississauga
Moving westward into expansive suburban landscapes, renovation requirements shift. Mississauga homes generally offer larger footprints for growing families, averaging over 200 square feet for cooking areas. Finding the right kitchen cabinet Mississauga ensures your suburban home gets the heavy-duty, high-capacity storage it needs.
4.1. Upgrading Mississauga Townhouses
A typical renovation in Mississauga often involves tearing down partition walls to create open-concept living spaces. In these expansive environments across Canada, cabinetry serves as a massive visual anchor. RTA units allow homeowners to affordably scale up their renovations. You can wrap an entire 20-foot wall in high-quality storage without overspending. Every kitchen cabinet adds to the overall functionality, including massive 8-foot central islands.
4.2. Maximizing Storage for Expanding Families
Family-centric living requires heavy-duty organization. Local suppliers note a massive 45% demand increase for functional, high-capacity modules. RTA lines cater to this by offering expansive 84-inch tall pantry units. Deep 3-drawer banks replace traditional base storage to provide ergonomic access for heavy cast iron. The durable construction of a premium kitchen cabinet ensures it will not sag under 100 lbs of cookware.
4.3. Popular Finishes in the Suburban Market
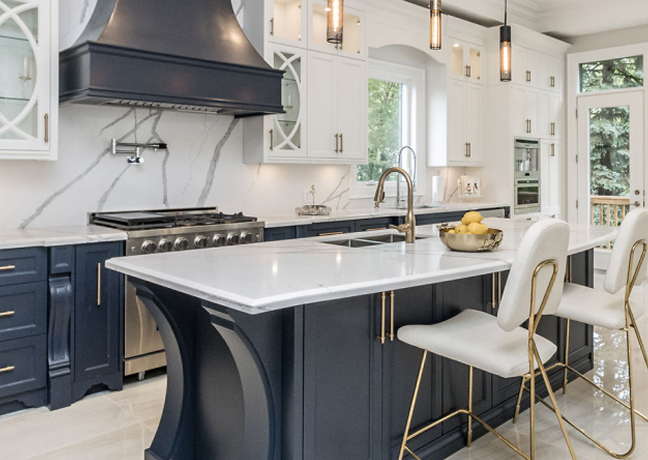
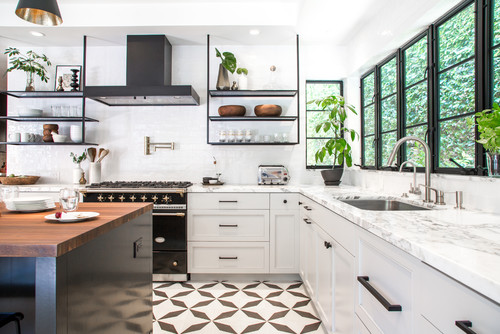
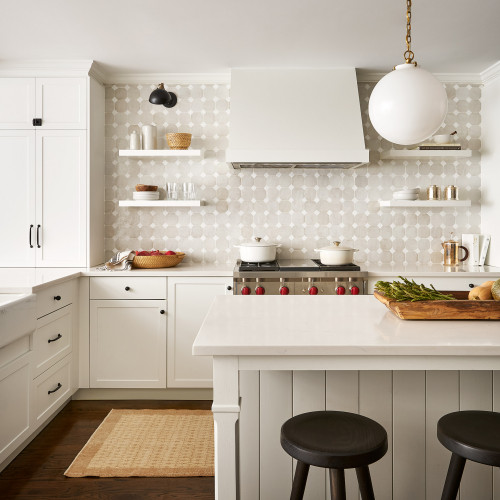
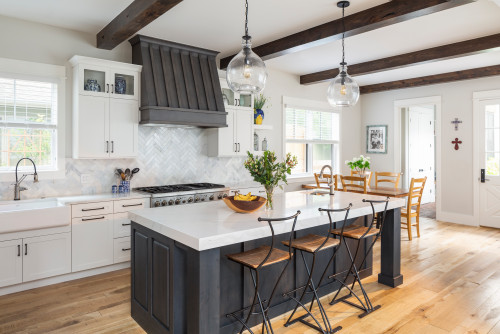
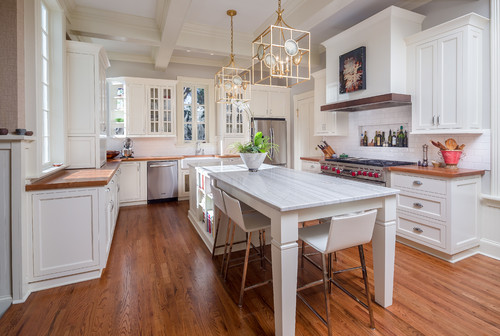
While urban centers lean heavily into ultra-modern looks, the suburban market embraces a transitional aesthetic. Homeowners often seek a balance between classic warmth and modern cleanliness. Painted shaker styles in crisp whites or deep navy blues are incredibly prevalent in Canada. These multi-coated finishes provide a bright atmosphere that stands up exceptionally well to daily family life.
5. Step-by-Step Guide: Planning Your kitchen cabinet Layout
A successful, stress-free installation relies entirely on meticulous planning. Taking the time to properly map out your Canadian home space is critical. You must complete this phase before ordering a single kitchen cabinet component.
5.1. Measuring Your Space Accurately
Precision is paramount. Begin by drawing a rough sketch of your room. Measure the overall length of every wall in inches. Next, measure the exact placement of all architectural obstacles like windows, doors, and plumbing lines. Double-check every single measurement before buying your kitchen cabinet. Even a 1/2-inch discrepancy can severely impact the final layout and require filler adjustments.
5.2. Creating a Functional Layout
Professional interior designers rely on the Work Triangle concept to create ergonomic spaces. This concept dictates that the refrigerator, sink, and stovetop should form a triangle, with legs ranging from 4 to 9 feet. This ensures the cook can move effortlessly between food storage and preparation zones. A well-placed kitchen cabinet enhances this workflow significantly, minimizing wasted steps.
5.3. Selecting the Right Sizes
Once measurements are locked in, begin slotting in your modular units. Standard base units are 24.5 inches deep and 34.5 inches high. Upper wall units are typically 12 inches deep. Walls are rarely perfectly straight in older Canadian properties. Always plan for 3-inch filler strips where a kitchen cabinet meets a wall to ensure doors can open a full 90 degrees.
6. Assembly Process for Your kitchen cabinet
One primary fear associated with flat-pack products is the assembly process. However, high-quality units are engineered for intuitive construction. With patience, anyone with basic DIY skills can successfully build a kitchen cabinet in 15 to 25 minutes per box.
6.1. Essential Tools Needed
Before unboxing, gather your tools to ensure a smooth workflow. You will need a cordless power drill, a rubber mallet, and high-quality PVA wood glue. Corner clamps are essential to hold boxes perfectly square at 90 degrees. A large, clean assembly surface protects the kitchen cabinet finishes from micro-scratches.
6.2. Unboxing and Organizing
Do not open all the boxes at once. This leads to a massive mixture of parts and severe confusion. Assemble one complete kitchen cabinet at a time. Lay out all the panels face down on your protected surface. Group the hardware into small containers for easy, organized access.
6.3. Construction of Base Units
- First, lay the solid wood face frame face-down and apply a thin bead of wood glue.
- Next, slide the side panels into the pre-cut grooves of the face frame.
- Insert the 1/2-inch bottom plywood panel into the horizontal grooves.
- Attach the solid rear panel to square up the entire kitchen cabinet securely.
- Finally, assemble the dovetailed drawer boxes with a mallet and install the soft-close glides.
6.4. Construction of Wall Units
Wall units are assembled using a nearly identical process. They lack a toe-kick and require extra attention to the back panel’s structural integrity. This piece bears the entire weight of the kitchen cabinet hanging on the wall. Ensure every single screw is driven perfectly straight and tight to prevent failure.
7. Installation Best Practices for Your kitchen cabinet
The quality of your final aesthetic depends on the precision of your installation. Even luxurious woodwork will look terrible if not installed perfectly level and plumb. Proper installation of a kitchen cabinet ensures 20+ years of long-lasting results in your Canadian home.
7.1. Preparing the Space
Begin by sweeping the room completely clean. Using a 48-inch spirit level or laser level, map out the highest point on your floor. You must install all base units level with this highest point. Draw a horizontal line across your walls at 34.5 inches to mark the top edge of your kitchen cabinet boxes. Use a digital stud finder to locate every wooden wall stud.
7.2. Hanging Wall Units Securely
Always install your upper units first to avoid reaching awkwardly over lower ones. Temporarily screw a 2×4 ledger board directly into the wall studs. Lift the corner kitchen cabinet onto the ledger board. Drive heavy-duty 3-inch mounting screws through the reinforced hanging strip. Connect adjacent boxes using padded bar clamps for a seamless, perfectly flush joint before screwing them together.
7.3. Installing Base Units
Starting again in the corner, place your first base unit. Tap wooden shims under the base until it is dead center level. Secure the kitchen cabinet to the wall studs. Continue placing, clamping, and leveling subsequent boxes. If your layout includes a large island, it must be permanently anchored to the floor joists to prevent dangerous tipping.
7.4. Adding Finishing Touches
The raw boxes are now installed, but the professional look requires trim. Measure and cut decorative toe-kick strips to cover the raw plywood bases and shims. Installing crown molding bridges the gap to the ceiling, adding immense architectural value. Finally, click the door hinges onto your kitchen cabinet and use a screwdriver to adjust the reveals perfectly.
8. Maintenance and Care for Your kitchen cabinet
Protecting your investment ensures the space remains a stunning focal point. Wood and painted finishes require specific care to prevent premature aging and moisture damage. Establishing a daily cleaning routine protects your kitchen cabinet from heavy buildup. Wipe down high-touch areas with a damp microfiber cloth and dry immediately to prevent water spots.
8.1. Deep Cleaning and Adjustments
Avoid harsh chemical cleaners, bleach, or abrasive scouring powders at all costs, as they strip clear coats. For deep cleaning, use a mild solution of warm water and pH-neutral dish soap. Wood expands and contracts significantly with Canadian seasonal changes in humidity. Periodically check and tighten the hinge screws holding the hardware on your kitchen cabinet.
9. Choosing the Right Local Supplier in Canada
Sourcing materials from a reputable provider is a crucial step. Partnering with the best kitchen cabinet supplier in Canada provides distinct advantages. Seek out companies that offer comprehensive 3D rendering services to visualize your layout accurately. Verify that their products utilize minimum 1/2-inch high-quality plywood for structural boxes.
9.1. Warranty and Delivery Logistics
A reliable supplier stands behind their manufacturing quality with robust warranties. Local suppliers understand the complex logistics of navigating dense Canadian urban traffic. They coordinate specific delivery windows to protect your investment from extreme snow or rain. Opting for professional curb-side or white-glove delivery services allows you to enjoy a functional space sooner and with zero hassle.
10. Conclusion
Elevating your home aesthetic does not require draining your savings. Embracing the exceptional engineering of flat-pack storage gives you complete control over timelines and budgets. Whether maximizing a tight condo footprint or designing a massive suburban haven, these solutions are ideal for Canada’s diverse housing market in 2026. Armed with precise measurements and professional installation best practices, you are fully equipped. You can successfully execute a renovation that brings massive daily joy and long-term equity value to your property.