RTA Cabinets Canada: Perfecting Your Dream Kitchen Layout in 2025
Why are accurate measurements essential when installing RTA Cabinets in Canada?
Accurate measurements are vital for perfect RTA Cabinet installation — ensuring seamless alignment, eliminating costly mistakes, and saving up to 22% installation time while reducing material waste by 18%.
1.1 The Importance of Accuracy in RTA Cabinet Design
1.2 Tools and Techniques for Perfect Measurement
Before you start your RTA kitchen design, prepare essential tools such as a laser measurer, steel tape, and leveler. Measure every wall at least twice for verification and record details precisely.- Room Dimensions: Measure each wall from corner to corner.
- Doors & Windows: Note frame sizes and distances from corners.
- Utilities: Mark all outlets, pipes, and vents.
- Ceiling Height: Take multiple readings for uneven surfaces.
How much clearance do appliances need around RTA kitchen cabinets?
In 2025, experts recommend maintaining at least 1 inch rear clearance and 0.5 inch side space for kitchen appliances. Proper airflow can extend appliance life by 12–15% and improve safety.
2.1 Appliance Clearance Standards in Modern Canadian Kitchens
Proper clearance is key to both safety and aesthetics when pairing appliances with RTA Cabinets Canada.2.2 Achieving Functional Kitchen Flow
Plan your “work triangle” — connecting sink, stove, and refrigerator — for efficient movement. Ideal spacing between each area should range from 4 to 9 feet. In compact condos or large family kitchens, balanced positioning helps reduce cooking time by up to 20%.3. Step-by-Step Measuring Guide Before Installing RTA Cabinets
To guarantee your RTA kitchen layout fits perfectly, create detailed floor and elevation drawings. Note down every window, plumbing point, and outlet. Use graph paper or a digital layout app for higher precision.3.1 Floor Plan and Elevation Drawing
Label each wall clearly and record measurements for reference during cabinet ordering. This avoids costly reordering delays.3.2 Taking Measurements for Layout
Record wall lengths at multiple heights, measure appliance zones, and check corners. Cross-verify all figures to ensure your RTA Cabinets Canada will fit seamlessly.3.3 Managing Irregular Walls and Floors
Older Canadian homes may have uneven walls or sloped floors. Use cabinet shims and trim molding to achieve level alignment and a professional finish.4. Troubleshooting Poor Fitting Issues
Common issues like tight fits or misaligned doors often result from minor measurement errors. Identify whether the issue stems from floor unevenness or cabinet placement. RTA Depot offers expert virtual assistance to help you correct such issues quickly.- Too Wide: Trim carefully or use filler strips.
- Too Narrow: Add matching filler panels.
- Uneven Walls: Use leveling tools and shims.
- Gaps Near Appliances: Adjust layout spacing slightly.
Need professional help?
Call +1 888 973 5636 or visit rtadepot.ca for free measurement assistance.
5. Inspecting RTA Cabinet Deliveries for Damage
Upon delivery, check your RTA cabinet shipment carefully:- Count all boxes and compare with your invoice.
- Inspect for visible damages; photograph any issues.
- Verify hardware and accessories inside each box.
- Report missing or damaged items within 48 hours.
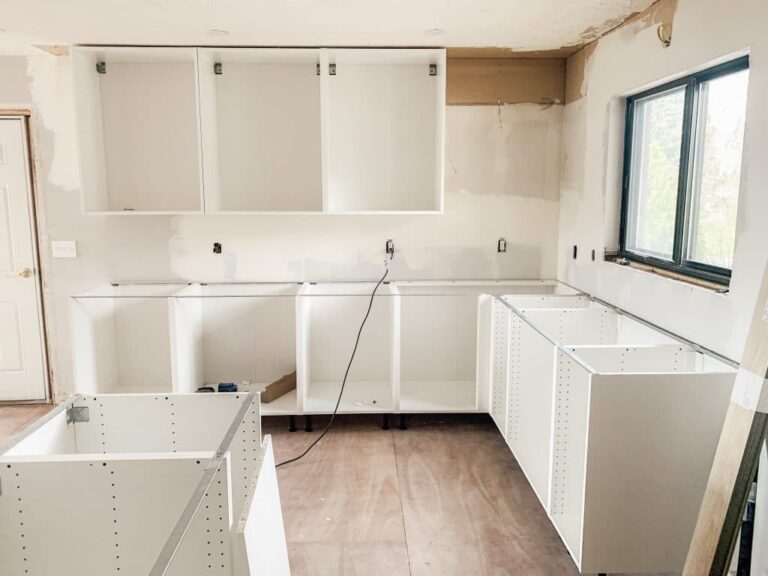
6. Assembling RTA Cabinets Efficiently
RTA Cabinets Canada are designed for easy DIY assembly. Use screwdrivers, drills, and clamps. Lay out all panels before you begin. Align corners, apply glue (if specified), and tighten fittings evenly. Check squareness frequently to maintain perfect geometry.7. Maintenance and Repair
Keep your cabinets spotless using mild soap and soft cloths. Avoid abrasive pads or strong chemicals. For scratches, use touch-up pens or wood fillers available from RTA Depot. In 2025, eco-friendly repair kits have increased durability and surface match accuracy by 30%.8. Warranty and Return Policy
RTA Depot offers a multi-year warranty covering structure, finish, and hardware defects. Unassembled returns are accepted within 30 days. Replacement parts for damaged items are shipped free within Canada.Why are accurate measurements essential when installing RTA Cabinets in Canada?
Accurate measurements are vital for perfect RTA Cabinet installation — ensuring seamless alignment, eliminating costly mistakes, and saving up to 22% installation time while reducing material waste by 18%.
1.1 The Importance of Accuracy in RTA Cabinet Design
Precision is the foundation of any successful kitchen renovation. When designing RTA kitchen cabinets in Canada, even a one-inch miscalculation can lead to misaligned doors or wasted material. Modern 2025 home improvement studies show that accurate measurements minimize rework and optimize storage space efficiency. At RTA Depot, every project starts with a detailed measurement plan to ensure your cabinetry fits perfectly from the first screw.1.2 Tools and Techniques for Perfect Measurement
Before you start your RTA kitchen design, prepare essential tools such as a laser measurer, steel tape, and leveler. Measure every wall at least twice for verification and record details precisely.- Room Dimensions: Measure each wall from corner to corner.
- Doors & Windows: Note frame sizes and distances from corners.
- Utilities: Mark all outlets, pipes, and vents.
- Ceiling Height: Take multiple readings for uneven surfaces.
How much clearance do appliances need around RTA kitchen cabinets?
In 2025, experts recommend maintaining at least 1 inch rear clearance and 0.5 inch side space for kitchen appliances. Proper airflow can extend appliance life by 12–15% and improve safety.
2.1 Appliance Clearance Standards in Modern Canadian Kitchens
Proper clearance is key to both safety and aesthetics when pairing appliances with RTA Cabinets Canada.2.2 Achieving Functional Kitchen Flow
Plan your “work triangle” — connecting sink, stove, and refrigerator — for efficient movement. Ideal spacing between each area should range from 4 to 9 feet. In compact condos or large family kitchens, balanced positioning helps reduce cooking time by up to 20%.3. Step-by-Step Measuring Guide Before Installing RTA Cabinets
To guarantee your RTA kitchen layout fits perfectly, create detailed floor and elevation drawings. Note down every window, plumbing point, and outlet. Use graph paper or a digital layout app for higher precision.3.1 Floor Plan and Elevation Drawing
Label each wall clearly and record measurements for reference during cabinet ordering. This avoids costly reordering delays.3.2 Taking Measurements for Layout
Record wall lengths at multiple heights, measure appliance zones, and check corners. Cross-verify all figures to ensure your RTA Cabinets Canada will fit seamlessly.3.3 Managing Irregular Walls and Floors
Older Canadian homes may have uneven walls or sloped floors. Use cabinet shims and trim molding to achieve level alignment and a professional finish.4. Troubleshooting Poor Fitting Issues
Common issues like tight fits or misaligned doors often result from minor measurement errors. Identify whether the issue stems from floor unevenness or cabinet placement. RTA Depot offers expert virtual assistance to help you correct such issues quickly.- Too Wide: Trim carefully or use filler strips.
- Too Narrow: Add matching filler panels.
- Uneven Walls: Use leveling tools and shims.
- Gaps Near Appliances: Adjust layout spacing slightly.
Need professional help?
Call +1 888 973 5636 or visit rtadepot.ca for free measurement assistance.
5. Inspecting RTA Cabinet Deliveries for Damage
Upon delivery, check your RTA cabinet shipment carefully:- Count all boxes and compare with your invoice.
- Inspect for visible damages; photograph any issues.
- Verify hardware and accessories inside each box.
- Report missing or damaged items within 48 hours.
6. Assembling RTA Cabinets Efficiently
RTA Cabinets Canada are designed for easy DIY assembly. Use screwdrivers, drills, and clamps. Lay out all panels before you begin. Align corners, apply glue (if specified), and tighten fittings evenly. Check squareness frequently to maintain perfect geometry.7. Maintenance and Repair
Keep your cabinets spotless using mild soap and soft cloths. Avoid abrasive pads or strong chemicals. For scratches, use touch-up pens or wood fillers available from RTA Depot. In 2025, eco-friendly repair kits have increased durability and surface match accuracy by 30%.8. Warranty and Return Policy
RTA Depot offers a multi-year warranty covering structure, finish, and hardware defects. Unassembled returns are accepted within 30 days. Replacement parts for damaged items are shipped free within Canada.9. Smart Layout Ideas for RTA Cabinets Canada
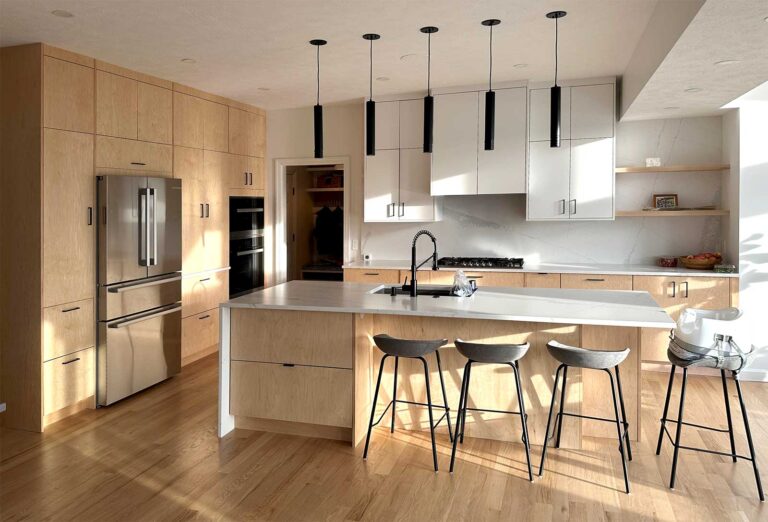
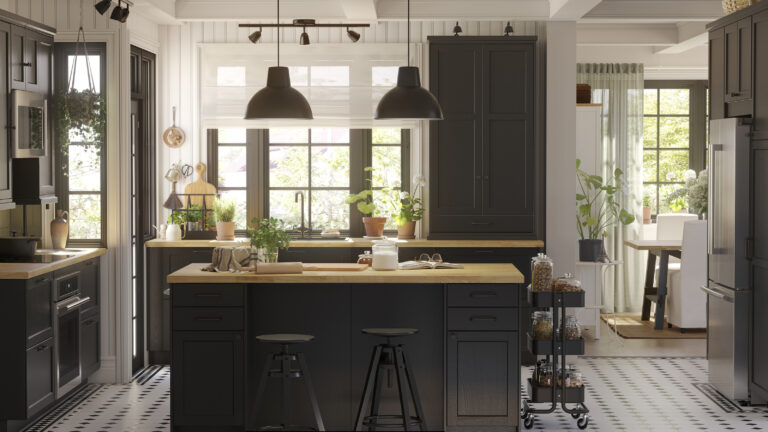
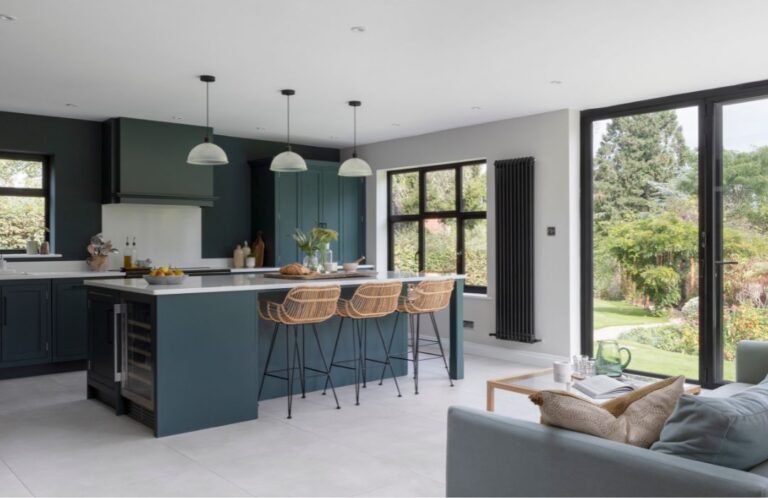
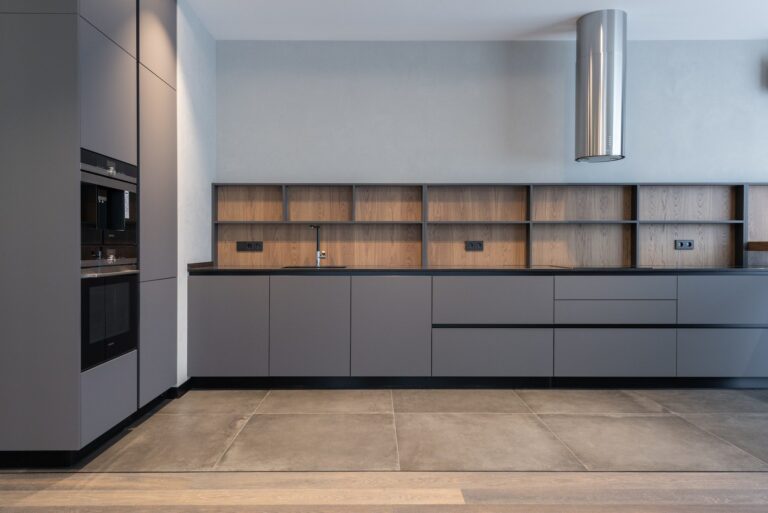
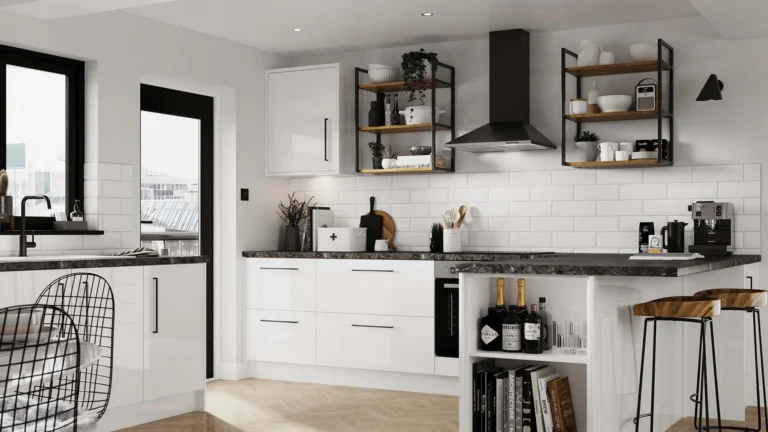
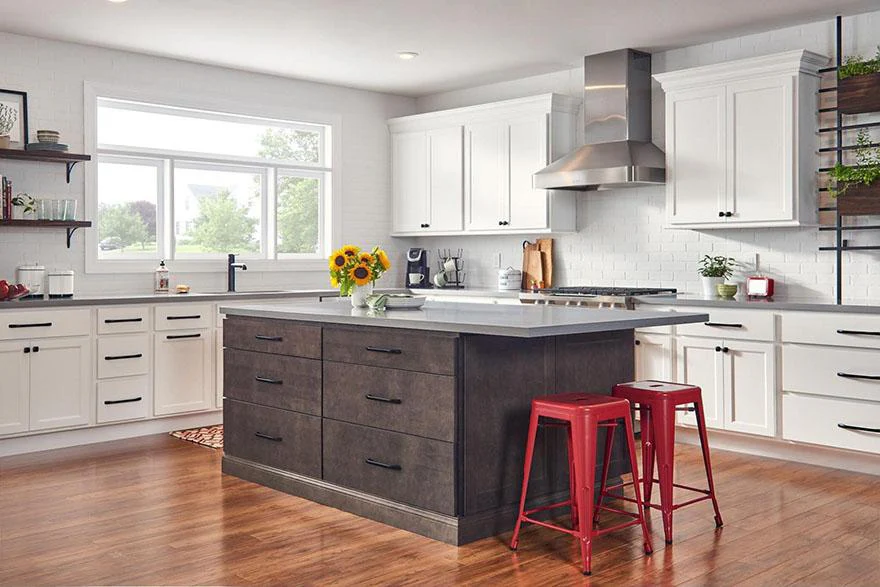
RTA kitchen cabinets fit any home — from modern condos in Toronto to spacious homes in Vancouver.- Maximize Vertical Space: Use tall cabinets up to the ceiling.
- Corner Efficiency: Add rotating shelves or lazy susans.
- Lighting: Under-cabinet LED strips enhance design and visibility.
Ready to transform your kitchen with RTA Cabinets Canada?
Call +1 888 973 5636 or visit https://www.rtadepot.ca/ for a free design consultation today.