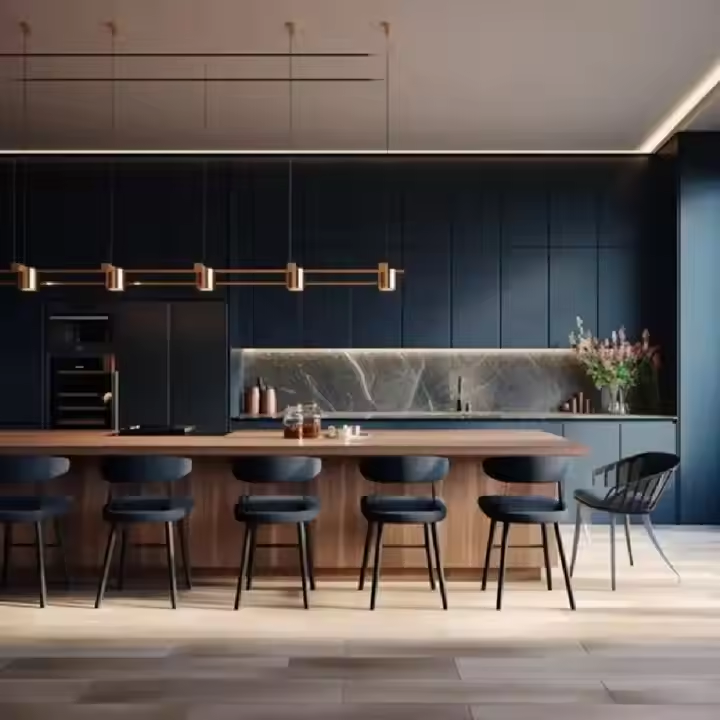
Description
Sink Cabinet Kitchen: Essential Guide To Kitchen Cabinets Sink cabinet kitchen solutions are fundamental components of a functional, beautiful culinary space, providing essential storage and housing vital plumbing for a streamlined experience. This essential area can be transformed from cluttered to charming with expertly designed cabinets, and rtadepot.ca offers quality under sink cabinet options to elevate your kitchen renovation journey, enhancing crucial below sink cabinet areas.- Transforming Your Kitchen with the Perfect Sink Cabinet
- Discovering the Ideal Sink Cabinet Solution
- Key Considerations When Choosing Your Sink Cabinet Kitchen
| Step | Action | Consideration |
| 1. Measure Width | Measure the horizontal space where the cabinet will be installed. | Account for adjacent cabinets, walls, or appliances. |
| 2. Measure Depth | Measure from the wall to the front edge where the cabinet will sit. | Standard is 24 inches, but verify your space. |
| 3. Measure Height | Measure from the floor to the desired countertop height (minus top). | Standard base cabinet height is 34.5 inches (cabinet box only). |
| 4. Note Plumbing Location | Carefully measure the location (horizontal & vertical) of all pipes. | This impacts internal usable space within the cabinet under sink. |
| 5. Note Sink Specs | Have your sink’s rough-in dimensions, depth, and drain location ready. | Ensures the sink fits the cabinet opening and clears internal components. |
| 6. Consider Accessories | Plan for pull-outs, waste bins, or disposal units and their clearance. | This helps determine the minimum required internal space of the below sink cabinet. |
| Material | Description | Pros | Cons | Use Case (Sink Cabinet) |
| Plywood | Layers of wood veneer glued together. Typically 1/2″ or 3/4″. | Excellent strength, good moisture resistance, holds screws well. | Can be more expensive than particleboard. | Ideal for cabinet boxes, especially in under sink areas. |
| MDF (Medium Density Fiberboard) | Engineered wood made from wood fibers, resin, and wax. | Smooth surface (great for painting), stable, relatively inexpensive. | Less moisture resistant than plywood, heavier, doesn’t hold screws as well. | Often used for door panels, sometimes cabinet boxes (less ideal for sink base). |
| Particleboard | Made from wood particles and adhesive. | Least expensive. | Least moisture resistant, less strong, prone to swelling if exposed to water. | Less suitable for high-moisture areas like a sink base cabinet. |
| Solid Wood | Natural wood (maple, oak, cherry etc.). | Beautiful aesthetics, very durable, can be refinished. | Can expand/contract with humidity, more expensive, requires maintenance. | Primarily for doors, drawer fronts, and cabinet frames (face frames). |
| Style | Description | Key Features | Aesthetic Appeal |
| Shaker | Simple, classic door with a flat panel and raised border. | Clean lines, timeless appeal, versatile. | Understated elegance, fits many kitchen themes. |
| Modern | Slab doors (flat panels) or doors with minimal framing. | Clean, sleek lines, often handle-less or minimalist hardware. | Contemporary, minimalist, streamlined. |
| Traditional | Doors with raised panels, ornate details, arches, or molding. | Intricate profiles, decorative elements, often wood stains or richer colors. | Classic, warm, detailed, formal. |
| European | Often frameless cabinet construction with slab or minimalist doors. | Clean lines, focus on interior storage, often full overlay doors. | Sleek, modern, efficient, integrated look. |
- The Installation Journey: Installing Your Sink Cabinet Kitchen
| Step | Action | Key Safety/Detail Points |
| 1. Preparation | Clear out the old cabinet completely. Disconnect plumbing and electrical (if applicable). | Shut off water supply at the source. Disconnect power to disposal. Use buckets for residual water. |
| 2. Removal | Detach the old sink base cabinet from the countertop and walls. | Carefully cut caulk/sealant. Locate and remove screws or fasteners. May require a helper. |
| 3. Site Prep | Clean the floor and wall areas. Inspect for any water damage; address as needed. | Ensure the area is clean and dry before installing the new cabinet under sink. |
| 4. New Cabinet Assembly | Assemble your new RTA sink cabinet kitchen box following the manufacturer’s instructions. | Ensure connections are tight and square. This is often easier in an open area. |
| 5. Cabinet Placement | Position the new sink cabinet base in its location. Check for level and plumb. | Use shims as needed to ensure the cabinet is level. |
| 6. Secure Cabinet | Fasten the new cabinet to the wall studs and adjacent cabinets (if applicable). | Use appropriate screws (e.g., cabinet screws) and locate studs accurately. |
| 7. Countertop Work | If replacing the countertop, install it now. If reusing, re-mount it carefully. | Ensure proper alignment and secure fastening. Seal edges around the sink opening. |
| 8. Sink & Plumbing | Install the sink into the countertop. Reconnect or install new plumbing fixtures (faucet, drain, disposal). | Strongly recommended to have a licensed plumber perform this step for your below sink cabinet. Test for leaks thoroughly. |
| 9. Finish Work | Install cabinet doors and hardware. Apply toe kick and any trim pieces. | Adjust door hinges for proper alignment. |
- Understanding the Investment: Sink Cabinet Kitchen Costs
- Material: Cabinets made primarily from plywood or solid wood components will generally cost more than those made from MDF or particleboard, reflecting their superior durability and moisture resistance, particularly important for the under sink cabinet area.
- Construction: Fully assembled cabinets typically cost more than ready-to-assemble (RTA) cabinets, as the assembly labor is included in the price. RTA cabinets offer a cost-saving opportunity if you assemble them yourself or hire someone specifically for assembly.
- Size and Features: Larger sink cabinets or those with specialized internal features like pull-out shelves, integrated waste bins, or soft-close hinges/slides will be priced higher than basic models.
- Style and Finish: Complex door styles or premium finishes can increase costs.
- Brand and Quality: Reputable brands using high-quality materials and construction methods will naturally have a higher price point than budget options, but they offer better longevity and performance for your sink cabinet kitchen.
| Cabinet Type (Sink Base) | Material/Construction Focus | Approximate Price Range (US Dollars) |
| Basic RTA | Particleboard/Thin MDF | $150 – $300 |
| Quality RTA | Plywood Box, MDF/Wood Front | $250 – $500 |
| Basic Assembled | Particleboard Box | $300 – $600 |
| Quality Assembled | Plywood Box, Wood Face Frame | $500 – $1000+ |
- Why rtadepot.ca is Your Trusted Partner for Sink Cabinets
- Cost Savings: Significant savings compared to pre-assembled cabinets due to reduced manufacturing labor and shipping costs.
- Faster Delivery: RTA cabinets can often be shipped faster than custom or semi-custom assembled units.
- Quality Materials: Despite being RTA, rtadepot.ca uses durable materials like 1/2″ and 5/8″ A-grade plywood for cabinet boxes and solid wood for face frames and door/drawer frames, ensuring longevity, especially for the under sink cabinet.
- Ease of Assembly: Designed for straightforward assembly with clear instructions and precise components. rtadepot.ca provides support to help you or your contractor.
- Easier Handling: Flat-packed boxes are easier to maneuver through tight doorways and staircases in urban homes compared to bulky assembled units, making the delivery of your sink cabinet kitchen much simpler.
- Making the Right Choice for Your Home Today
- Call us now: +1 888 973 5636
- Visit our website: https://www.rtadepot.ca/


