
Updated August 22, 2026. Design intent, planning sequence, internal links and source references were clarified.
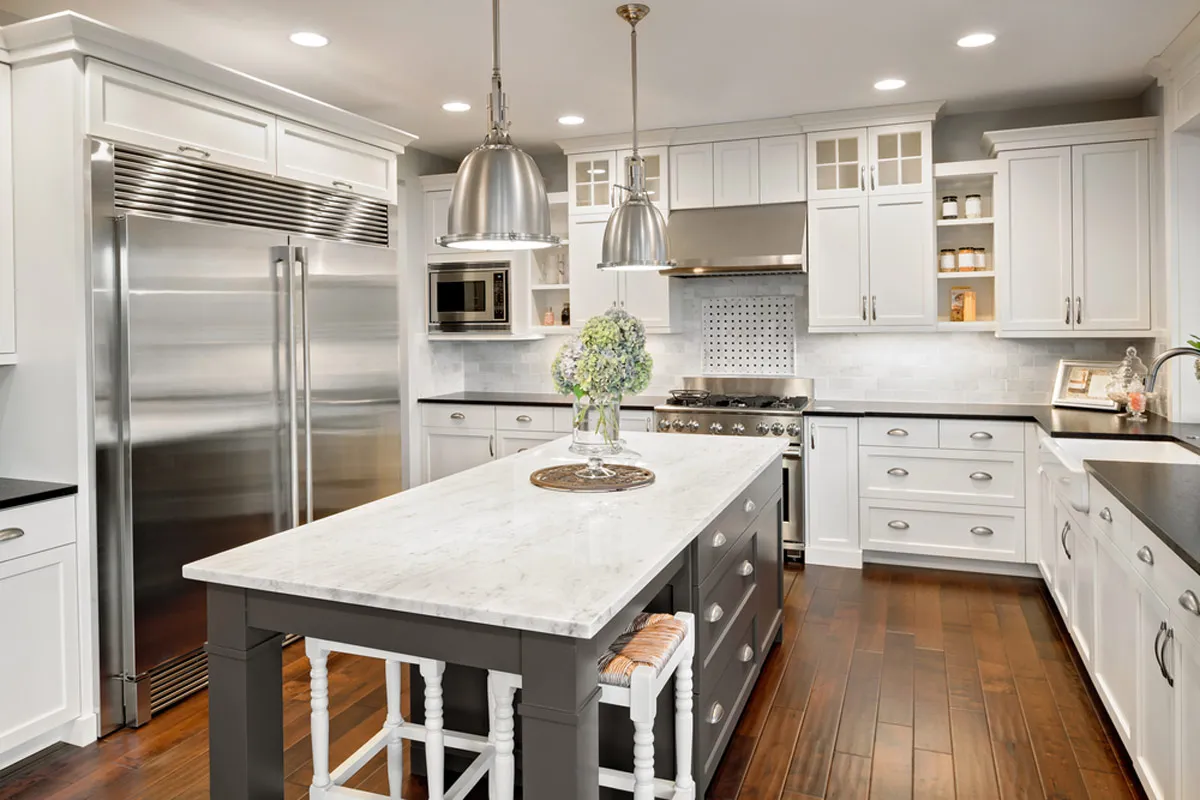
Short answer: A successful premade cabinet design coordinates door style, colour, layout, hardware, lighting and storage within the manufacturer’s size catalogue. Approve the measured plan first, then choose visual details that can be repeated consistently across the kitchen.
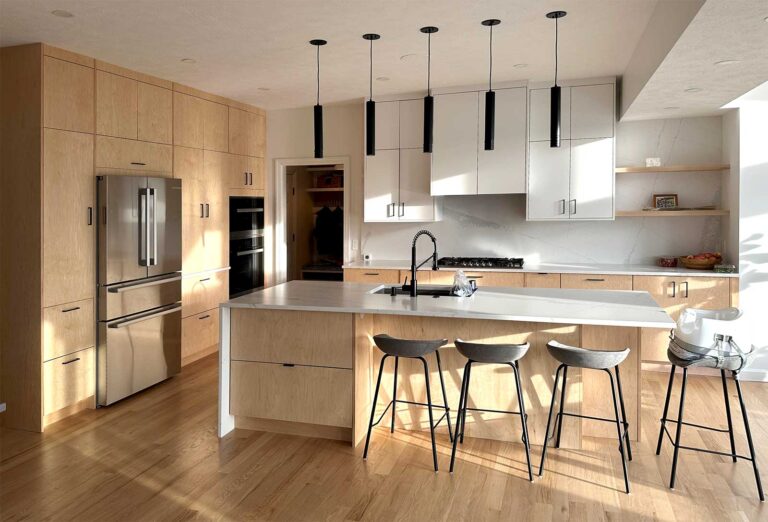
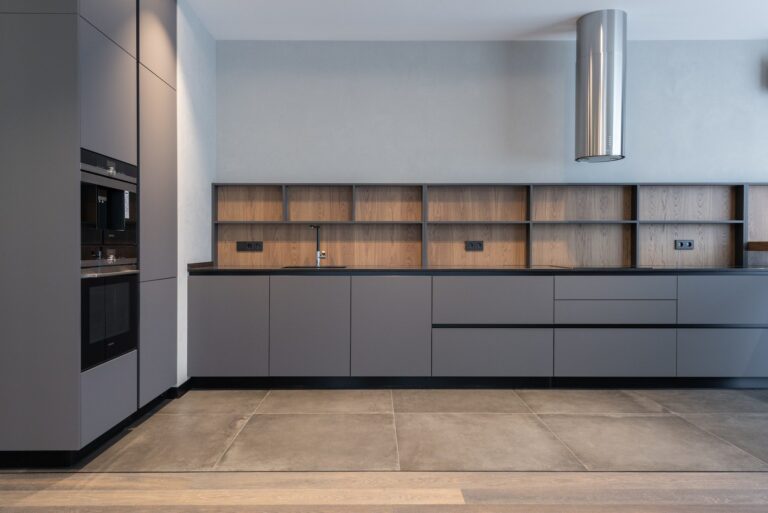
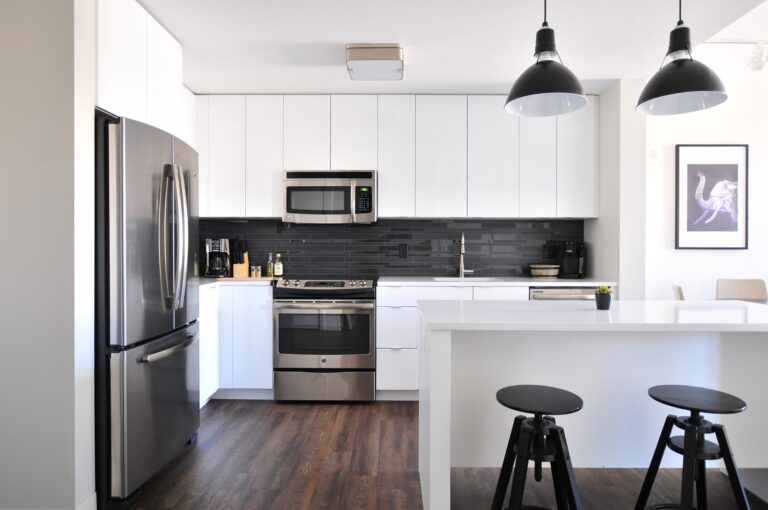
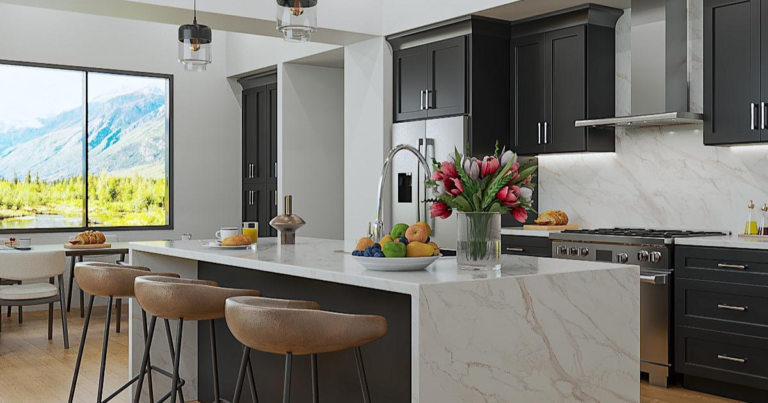
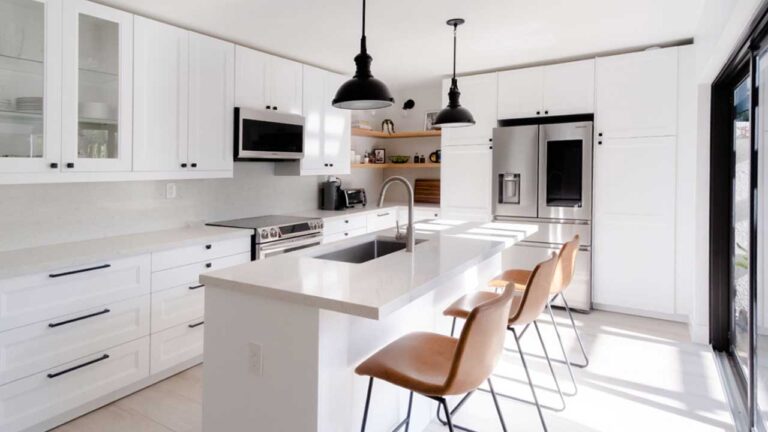
1. Choose a Door Style That Fits the Room
| Style | Visual effect | Planning note |
|---|---|---|
| Shaker | Balanced and adaptable | Rail width and hardware change the perceived scale |
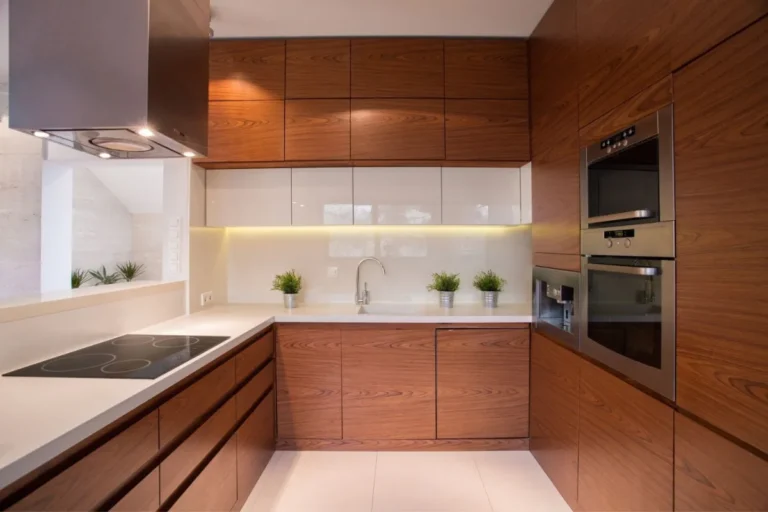
| Slab | Clean and contemporary | Consistent reveals and alignment are especially visible |
| Raised panel | Traditional depth and detail | Coordinate mouldings, end panels and hardware |
| Glass-front accent | Breaks up solid cabinet runs | Use selectively and plan the display interior |
Confirm that the chosen door style is available on every required cabinet, panel and accessory. A style that works on a wide drawer may look crowded on a narrow door, so review the complete elevation rather than a single sample.
2. Build a Controlled Colour Plan
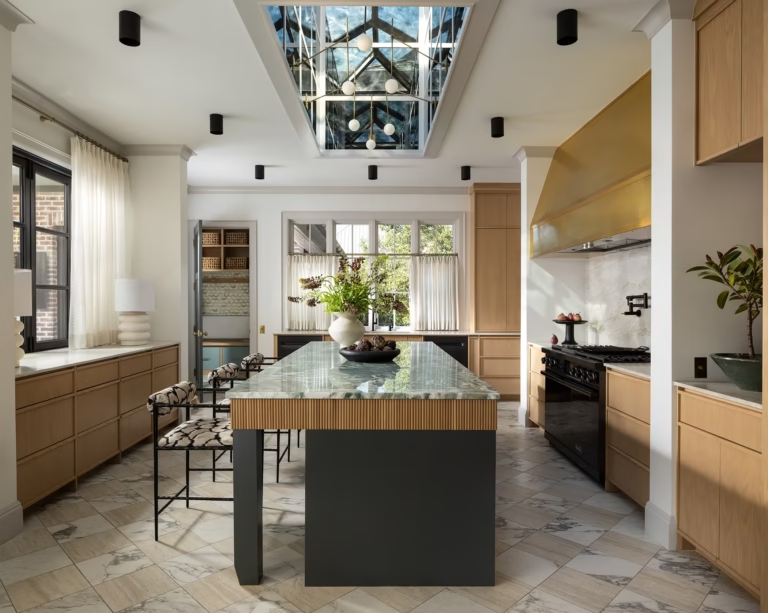
Use one dominant cabinet colour and one controlled accent instead of mixing many unrelated finishes. In a two-tone kitchen, repeat the accent on an island or lower cabinet run and verify that fillers, panels, toe kicks and mouldings are available in both finishes. Review samples under daytime and evening lighting before ordering.
White, warm wood, grey, blue and green can all work, but the successful palette is the one coordinated with flooring, counters, backsplash and the room’s natural light. Treat online images as inspiration, not as colour-accurate samples.
3. Match the Layout to How the Room Is Used
Approve appliance openings, door swings, working aisles, landing areas and corner access before selecting decorative features. A strong layout reduces unnecessary movement and keeps doors or drawers from colliding. For compact rooms, use the small-kitchen cabinet planning guide.
| Layout | Useful when | Watch for |
|---|---|---|
| One-wall | Space is limited and the work zone must stay compact | Not enough landing space between appliances |
| Galley | Two parallel runs provide efficient storage | Opposing doors and narrow aisles |
| L-shaped | An open corner connects work zones | Corner storage and appliance conflicts |
| U-shaped | Three runs create substantial work and storage area | Overcrowded corners and insufficient aisle width |
4. Use Hardware as a System
Choose handle lengths and locations that work across drawers, doors and narrow cabinets. Create a drilling template and confirm that adjacent handles will not collide at corners. Coordinate the finish with faucets, lighting and appliances without requiring every metal to match exactly.
5. Plan Lighting Before Installation
- Task lighting below wall cabinets.
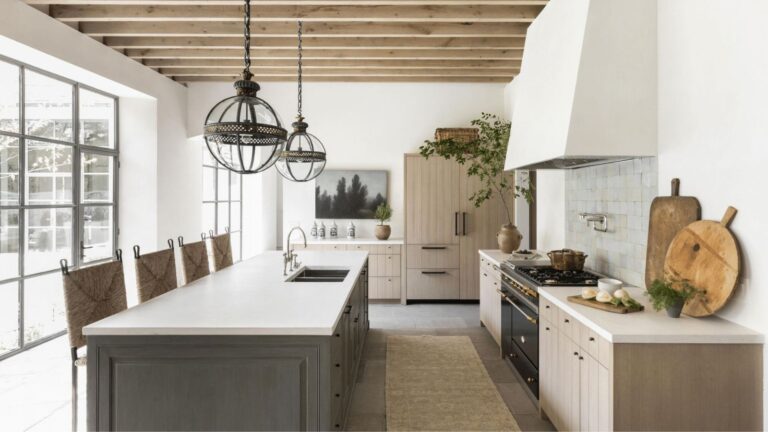
- Ambient ceiling or pendant lighting.
- Accent lighting inside selected glass cabinets.
- Power supplies, switches and wire routes concealed in the cabinet plan.
Lighting locations should be coordinated with cabinet widths and shelves before installation. Retrofitting wires after cabinets and backsplash are complete can add visible channels or unnecessary trade work.
6. Add Accessories Only Where They Solve a Problem
Wide drawers, tray dividers, pull-out waste systems and corner accessories should come from the storage plan. Confirm internal dimensions and door-clearance requirements before ordering. Accessories that reduce usable volume or create hardware conflicts are not automatic upgrades.
Create a Design Brief
- Approve the measured layout and appliance list.
- Select one primary door style.
- Choose a restrained colour palette using physical samples.
- Confirm matching panels, fillers and trim.
- Specify hardware and lighting locations.
- Add storage accessories after the core plan works.
Sources and Further Reading
Bottom Line
Premade cabinet design works best when the measured layout controls the visual choices. Repeat a small set of door, colour, hardware and lighting decisions across the whole kitchen, and confirm that every decorative part exists in the selected cabinet catalogue.

Sang Vi is a Senior Interior Designer and founder of Wedesign Interior Lab, as well as CEO of the Wedesign Interior Lab, MOC Concepts (Kitchen Cabinets), and Sang Vi Woodworking Manufacturer group. Since 2019, Sang has led an NKBA-certified team specializing in kitchen planning and cabinetry, completing dozens of projects each year across Toronto and other regions in Canada. With deep, hands-on experience in both custom millwork and ready-to-assemble (RTA) kitchen cabinets, Sang focuses on creating designs that are functional, durable, and easy to install. On this RTA platform, Sang shares practical, real-world insights to help homeowners choose, plan, and optimize their kitchen cabinet systems with confidence