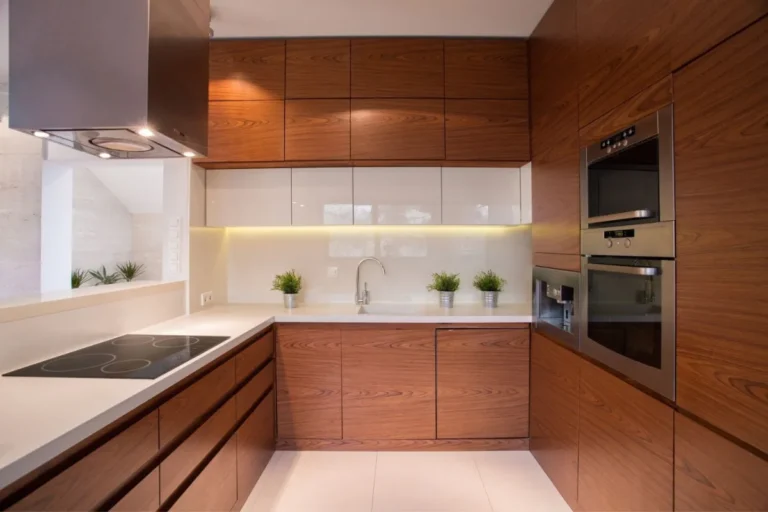

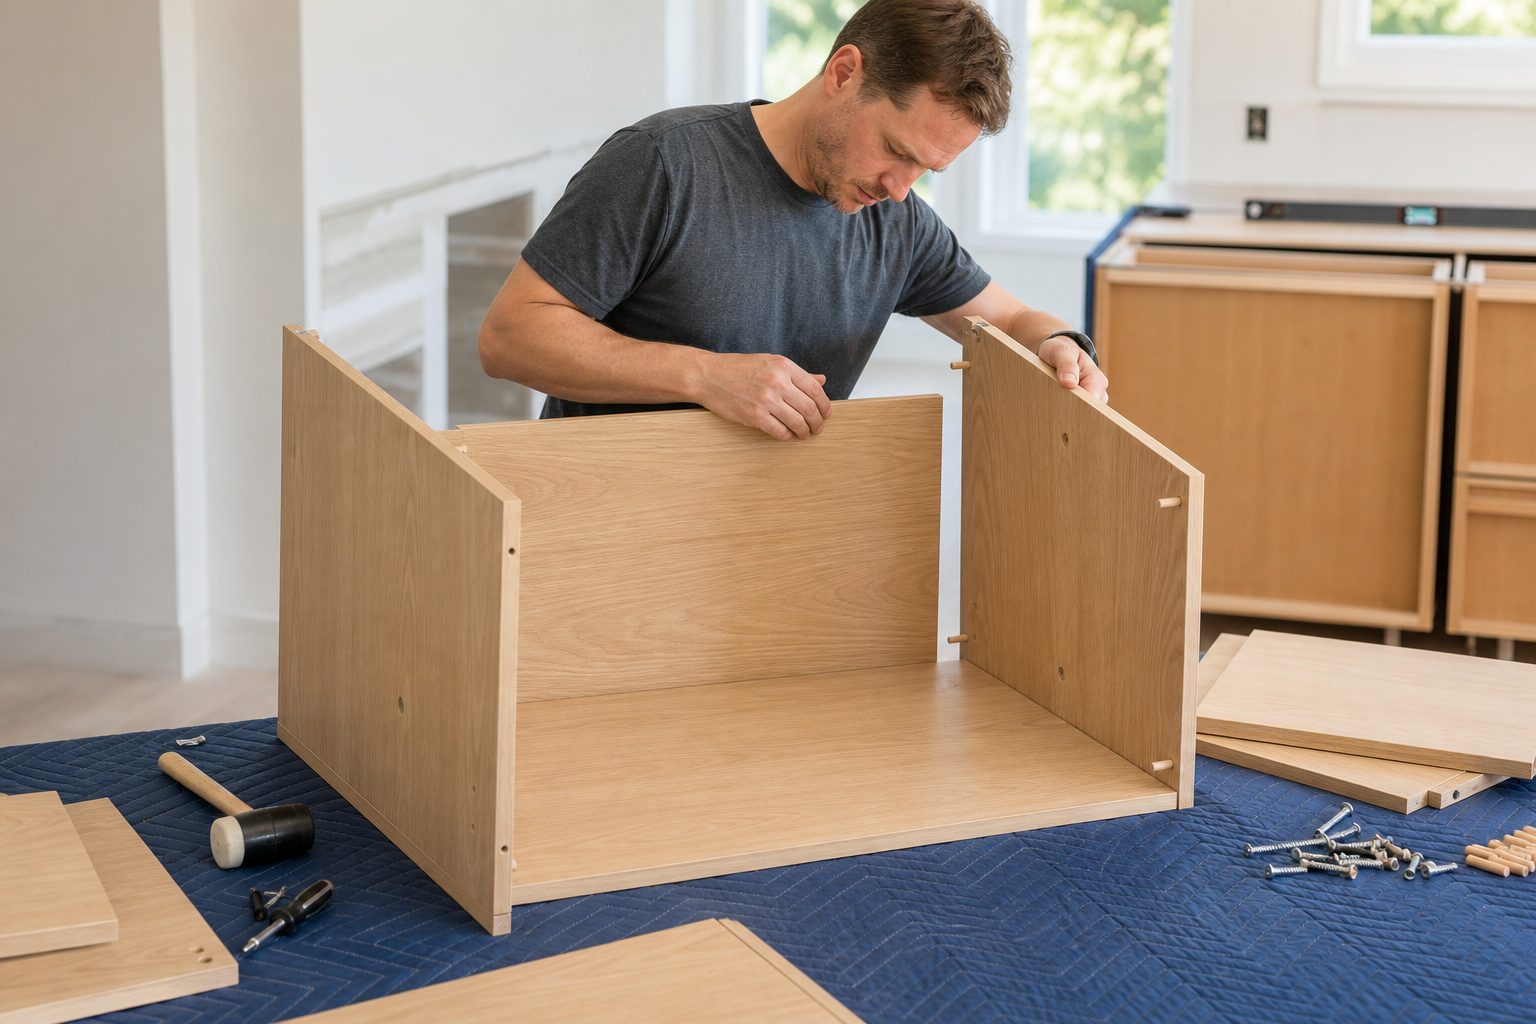
Ready-to-assemble cabinets arrive as flat panels, hardware and fittings that must be built into a square, stable cabinet box before installation. The exact connectors and panel details vary by cabinet system, so keep the product-specific instructions beside you throughout the assembly.
This step-by-step guide explains how to assemble RTA cabinets in the correct working order: identify the parts, prepare the panels, form the box, install the back, check for square, add the internal components and complete a quality inspection. It covers assembly only—not leveling or fastening cabinets to the kitchen wall.
Quick Answer: How Do You Assemble an RTA Cabinet?
To assemble an RTA cabinet, verify every panel and hardware bag, place the parts on a protected flat surface, install the specified connectors, join the cabinet box, seat the back panel, compare the two diagonal measurements, tighten the hardware, then install slides, shelves, hinges and doors. Complete a square-and-hardware check before installation.
RTA Cabinet Assembly Steps at a Glance
- Prepare a protected, level work area
- Inventory and identify every part
- Confirm panel orientation
- Install the panel hardware
- Join the cabinet box
- Fit the back panel
- Square the box before final tightening
- Install slides, shelves and cabinet-specific components
- Fit hinges and doors
- Complete the assembly inspection
Before starting: The instructions supplied with the cabinet control the connector type, glue requirements, fastener locations and component order. Do not substitute a generic screw, add glue or drill new holes unless the cabinet instructions specifically allow it.
1. Prepare a Protected, Level Work Area
Assemble the cabinet on a clean, flat surface with enough space to lay out the longest panels without stacking them. A padded worktable is useful for smaller cabinets; a clean floor protected with cardboard, foam or moving blankets is often safer for tall panels.
- ✓Remove grit, screws and debris that could scratch the finish.
- ✓Provide good lighting so edge finishes, hole patterns and labels are visible.
- ✓Keep food, drinks and construction dust away from panels and hardware.
- ✓Arrange help before lifting or turning a tall, wide or heavy cabinet box.
Prepare the correct hand tools before opening the cartons. The related checklist explains the tools used for RTA cabinet assembly and pantry cabinet installation.
Inspect powered tools before use, follow the operator’s manual and disconnect the power source before changing accessories or making adjustments. These practices are also recommended in the Canadian Centre for Occupational Health and Safety guidance for powered hand tools.
2. Inventory and Identify Every Part
Match the cabinet code on the carton to the order and product instructions. Open one cabinet at a time when possible, then compare every panel, hardware bag and accessory with the parts list before driving a fastener.
Photograph any transit damage and record the cabinet code before assembly. Do not discard packaging until the cabinet has passed its final inspection.
3. Confirm the Orientation of Every Panel
Panel orientation must be confirmed before connectors are installed. Two panels may look similar while having different finished edges, hinge holes, shelf-pin rows, back-panel grooves or left/right functions.
- ✓Identify which edge faces the cabinet front.
- ✓Confirm whether the finished surface faces inside or outside.
- ✓Locate the back-panel groove or mounting edge.
- ✓Compare pre-drilled holes with the instruction diagram before proceeding.
Use removable painter’s tape to label left, right, top, bottom, front and back when the parts are easy to confuse. Remove the labels after the box is complete.
4. Install the Panel Hardware
Install cam posts, dowels, mounting plates, slide members or other fittings while the panels are flat, following the cabinet-specific sequence. Starting these components on a flat panel usually provides better access and reduces the need to reach inside a completed box.
- Place each panel on the protected surface in the orientation shown by the manual.
- Match each fitting to the correct pre-drilled hole; do not assume similar holes serve the same purpose.
- Start threaded hardware straight and tighten only to the level specified by the cabinet instructions.
- Check that cam-lock openings or connector faces point toward the mating fastener before joining the panels.
Control the torque: More force does not make an RTA joint better. Excessive torque can strip a fitting, damage a pre-drilled hole or pull hardware out of alignment. Use a manual screwdriver for small fittings when a drill/driver does not provide enough control.
5. Join the Cabinet Box
Join the side panels to the bottom, top panel, stretcher rails or fixed dividers in the order shown by the instructions. Support long panels across their full length and align the connectors before applying pressure.
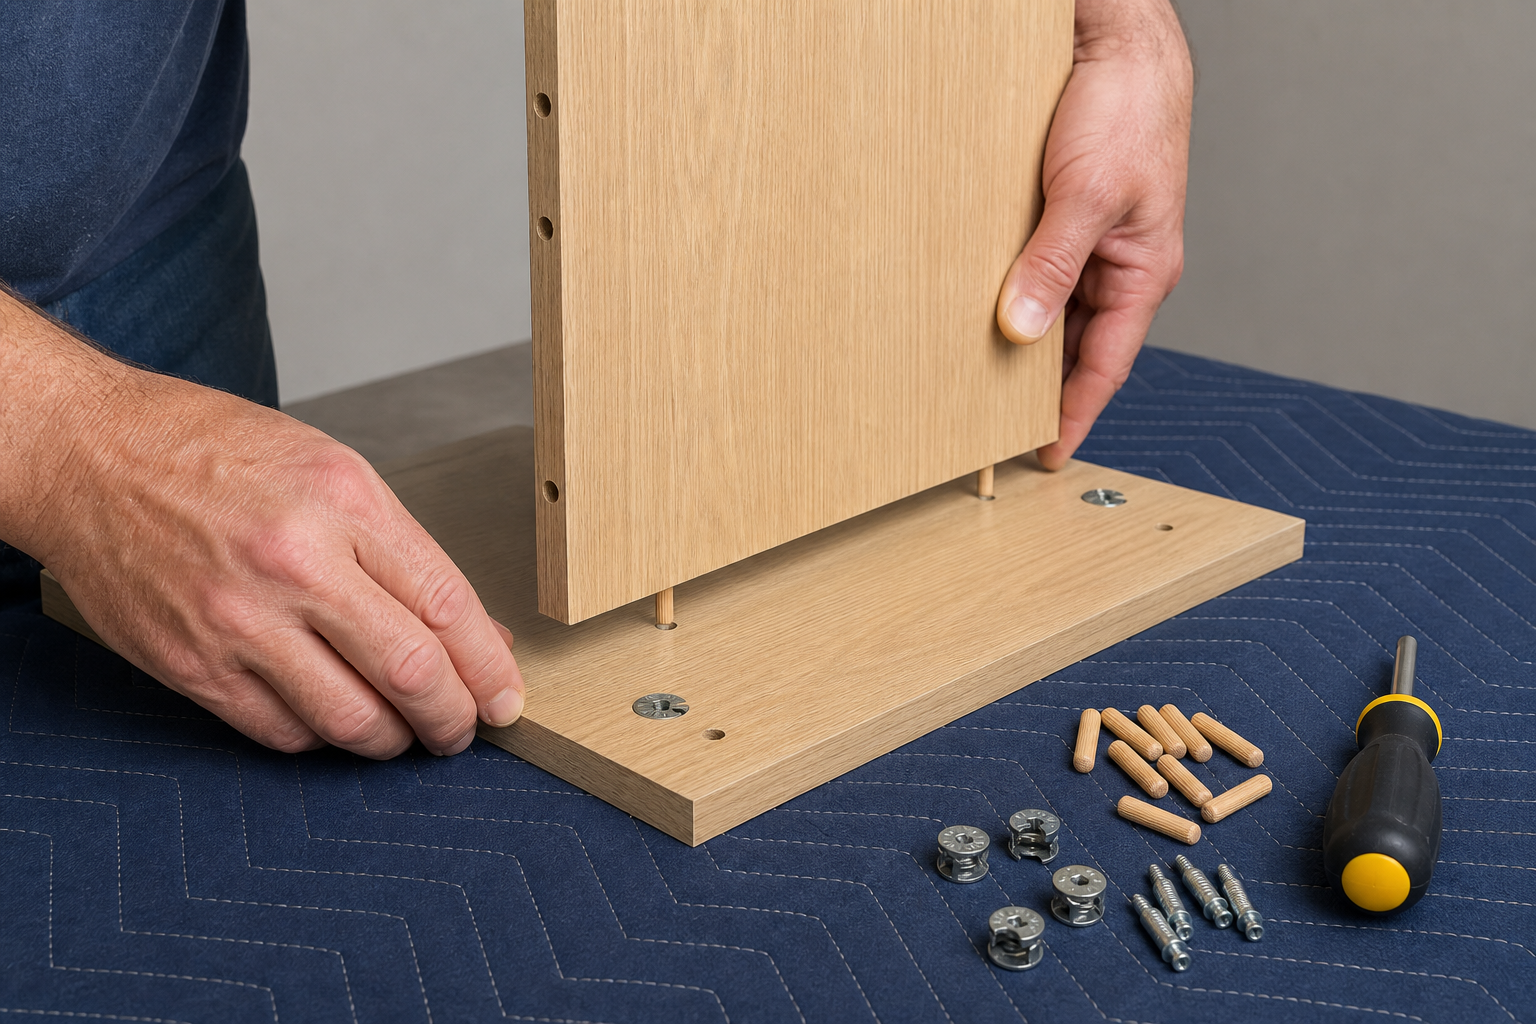
- Position the first side panel flat or securely supported.
- Attach the bottom and any fixed rails or dividers without forcing the connectors.
- Add the second side panel and confirm that all panel edges meet evenly.
- Engage the connectors gradually, moving around the cabinet rather than fully tightening one corner first.
- Check that finished edges face forward and that the back-panel groove remains continuous around the box.
Do not lift an unfinished cabinet by one rail or side. If the box must be turned, support the sides and have a second person control large components.
6. Fit the Back Panel Correctly
The back panel may help establish the cabinet’s shape, but its function and attachment method vary by system. Confirm which surface faces the cabinet interior and whether the panel slides into grooves, seats in a recess or attaches to the rear edges.
- ✓Clear packaging dust and debris from all grooves.
- ✓Start the panel evenly rather than driving one corner fully into position.
- ✓Confirm the panel is fully seated before securing its clips or fasteners.
- ✓Stop if the panel bows or a groove will not align; recheck the box and panel orientation.
7. Square the Cabinet Box Before Final Tightening
A square cabinet has two equal corner-to-corner diagonal measurements when checked across matching reference points. Measure both diagonals across the cabinet opening, then shift the box gently until the readings match as closely as the cabinet construction permits.
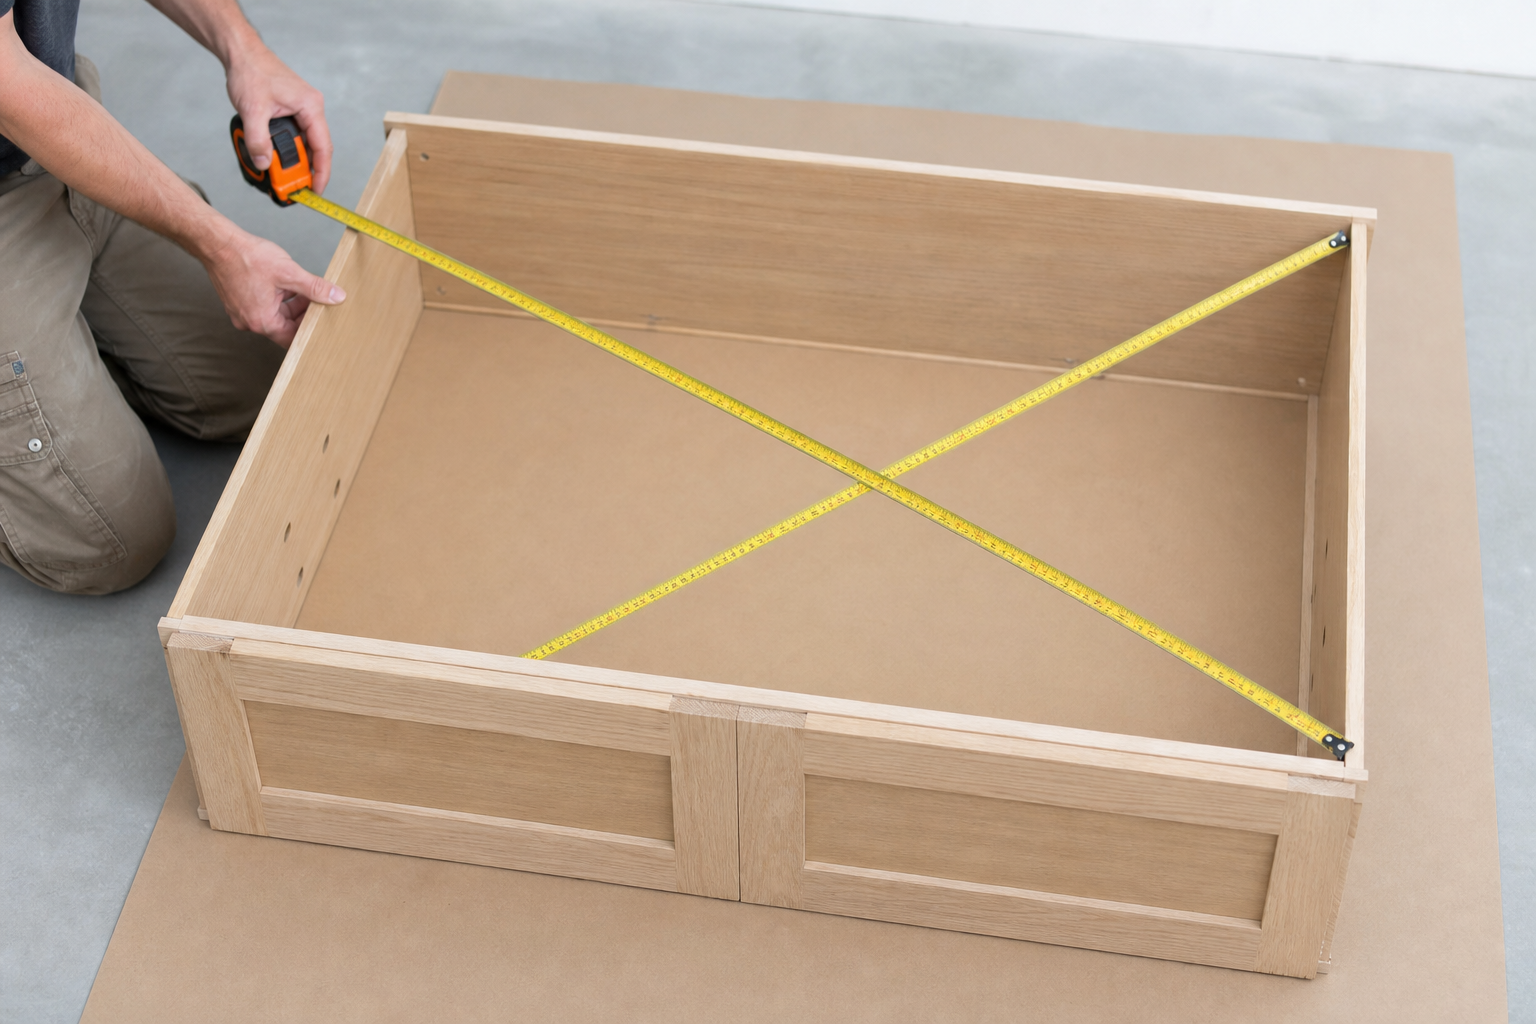
Diagonal check: Measure from the upper-left inside corner to the lower-right inside corner, then from the upper-right inside corner to the lower-left inside corner. Use the same reference position at all four corners. If the two readings differ, the box is not square yet.
Once the cabinet is square, seat or secure the back panel as directed and tighten the cabinet hardware in stages. Recheck the diagonals after tightening because the box can move while the joints are being secured.
If the box will not square, a joint remains open or the back panel will not seat, stop instead of forcing it. Use the separate RTA cabinet assembly problems and fixes guide to diagnose the cause.
8. Install Slides, Shelves and Cabinet-Specific Components
Install internal hardware only after the box is stable and square, unless the product instructions specify an earlier step. Separate left and right drawer-slide members and confirm that paired components are mounted at matching positions.
Drawer Slides and Drawer Boxes
Mount the cabinet-side slide components in the labelled pre-drilled positions. Assemble the drawer box in its specified order, confirm its bottom is fully seated and keep the drawer front protected until it is time to attach or adjust it.
Shelves, Dividers and Accessories
Install fixed components according to the structural sequence. Adjustable shelves can normally wait until the cabinet has been moved and secured, reducing weight and preventing loose shelves from shifting during handling.
9. Fit the Hinges and Doors
Attach the hinge components to the doors and cabinet using the supplied pre-drilled holes and manufacturer sequence. Support each door during attachment so its weight does not pull on one hinge or mounting plate.
- Confirm each hinge and mounting plate is installed in the intended position.
- Attach or clip the door to the cabinet while supporting its weight.
- Make only a preliminary adjustment so doors open and close without striking.
- Delay final gap alignment until the cabinet has been installed, leveled and secured.
Final hinge adjustment cannot correct a cabinet box that is out of square. Always verify the box before repeatedly adjusting the doors.
10. Complete the RTA Cabinet Assembly Inspection
Inspect every cabinet before moving it into the kitchen. The purpose is to catch a wrong panel, loose fitting or alignment problem while the cabinet remains accessible on the assembly surface.
Final Assembly Checklist
- □Cabinet code matches the layout and order.
- □Finished edges and panel faces point in the correct direction.
- □Back panel is fully seated and secured as specified.
- □Diagonal measurements confirm the box is square.
- □All required hardware is present, engaged and undamaged.
- □Drawers move through their full travel without binding.
- □Doors open and close without rubbing; final reveal adjustment remains for installation.
- □Loose shelves, doors or drawers are removed or secured for safe handling.
Label the completed cabinet with its layout position before moving it. Then follow the applicable installation instructions. For a tall unit, use the complete pantry cabinet installation guide, including measurement, placement, leveling and wall fastening.
Before installation day, also review the common kitchen cabinet installation errors to avoid.
When Should You Stop Assembly and Troubleshoot?
Stop assembly when a connector will not engage with moderate hand pressure, a panel does not match the instruction diagram, the back will not seat, the cabinet cannot be squared, a pre-drilled hole is damaged or a required part is missing. Forcing the next step can turn a correctable issue into panel or hardware damage.
Use the troubleshooting article for symptoms and corrective actions: RTA cabinet assembly problems and fixes in Canada. Record the cabinet code, affected part and clear photographs before requesting support or a replacement.
Need Help Choosing or Planning RTA Cabinets?
RTA Depot can help confirm cabinet types, dimensions and layout requirements before ordering. Browse the available RTA kitchen cabinets or arrange a kitchen design consultation.
RTA Cabinet Assembly FAQ
How long does it take to assemble an RTA cabinet?
Assembly time depends on the cabinet type, connector system, number of drawers or accessories and the installer’s experience. A simple wall cabinet normally requires fewer operations than a drawer base or tall pantry cabinet. Do not use a generic time estimate to rush the work; correct panel orientation and squareness matter more than speed.
Do RTA cabinets need glue during assembly?
Use glue only when the cabinet manufacturer’s instructions specify the glue type and application location. Adding adhesive to a dry-assembly connector can prevent correction, affect replacement eligibility or damage a panel during disassembly. Do not assume that every dowel, groove or joint should be glued.
How do I know whether an RTA cabinet is square?
Measure diagonally across the cabinet opening in both directions using the same four reference points. The cabinet is square when the two diagonal measurements are equal. Recheck after the back panel and final hardware are secured because tightening can shift the box.
Should doors be adjusted before or after cabinet installation?
Make only enough adjustment during assembly for the doors to open and close safely. Complete the final door-gap adjustment after the cabinet is positioned, leveled, aligned and secured. Installation can slightly change the cabinet box and therefore change the visible door gaps.
Can one person assemble a tall pantry cabinet?
One person may be able to prepare individual components, but long panels and a completed tall box can be difficult to support, turn and move without damage. Use adequate assistance and a planned handling route. Remove loose shelves and other detachable weight before moving the cabinet.
What should I do if hardware is missing or a panel is damaged?
Stop at the last safe step and do not substitute a similar-looking component. Record the cabinet code and part number, photograph the damage or missing position and retain the packaging. Contact the supplier for the correct replacement or instruction before continuing.

Sang Vi is a Senior Interior Designer and founder of Wedesign Interior Lab, as well as CEO of the Wedesign Interior Lab, MOC Concepts (Kitchen Cabinets), and Sang Vi Woodworking Manufacturer group. Since 2019, Sang has led an NKBA-certified team specializing in kitchen planning and cabinetry, completing dozens of projects each year across Toronto and other regions in Canada. With deep, hands-on experience in both custom millwork and ready-to-assemble (RTA) kitchen cabinets, Sang focuses on creating designs that are functional, durable, and easy to install. On this RTA platform, Sang shares practical, real-world insights to help homeowners choose, plan, and optimize their kitchen cabinet systems with confidence