
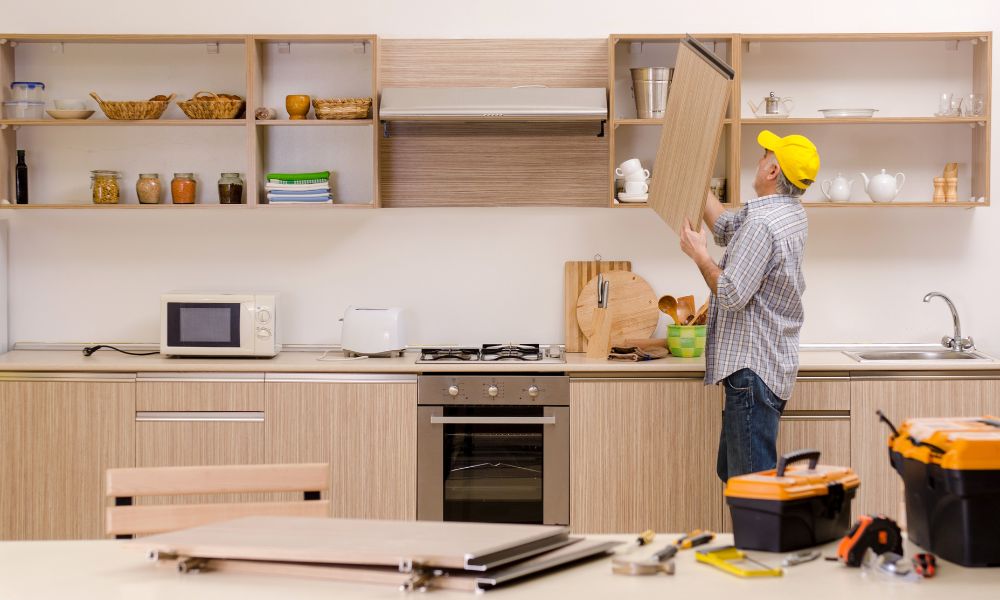
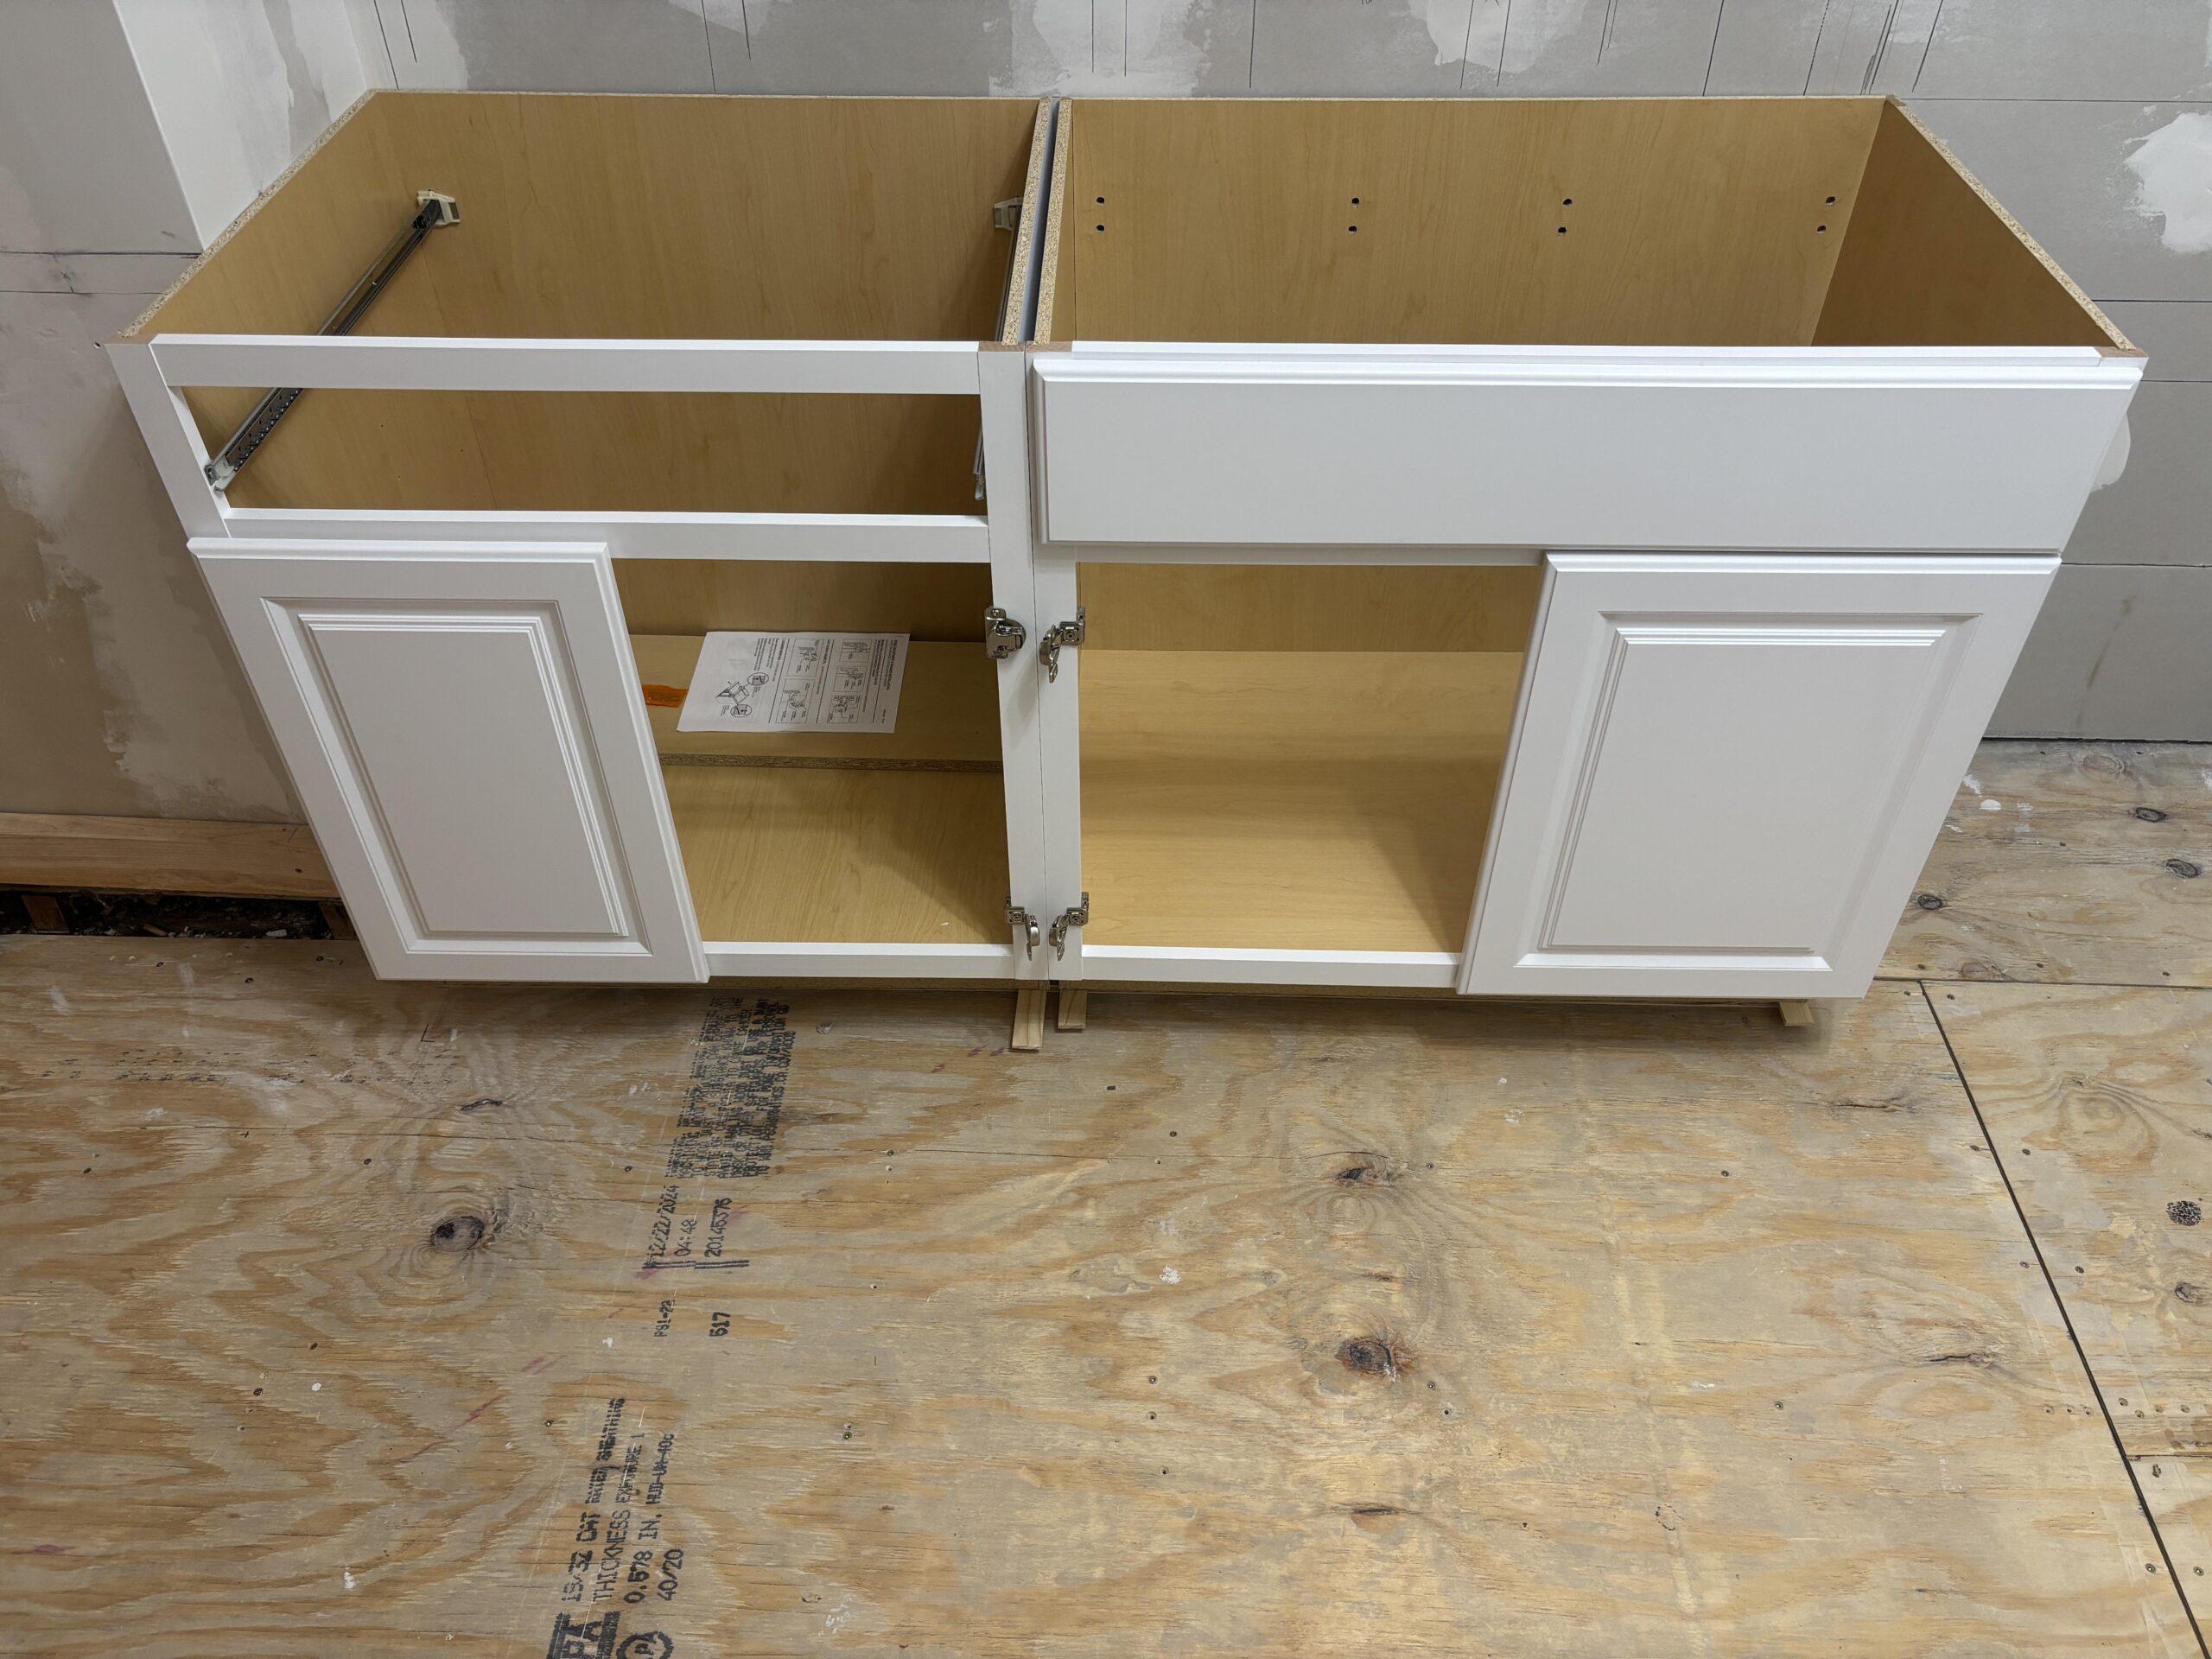
Cabinets can be installed on an uneven floor or bowed wall, but the cabinet run must remain level, plumb, square and fully supported. Start by mapping the floor and wall, use the highest floor point to establish the base-cabinet reference, raise lower areas with the cabinet system’s approved adjustment method and avoid pulling a square cabinet against an irregular wall.
This specialist guide covers site conditions that affect an otherwise correctly assembled cabinet. If a box is twisted before it reaches the room, diagnose the assembly first with the RTA cabinet assembly problems and fixes guide.
Editorial review: July 2026. Cabinet support and fastening methods vary by product, wall structure and local requirements. Follow the cabinet instructions and use a qualified installer when structural support, concealed services, lifting or the correct fixing method is uncertain.
Quick Answer: How Do You Level Cabinets on an Uneven Floor?
Find the highest point along the cabinet run, project a level reference line, position the first cabinet at that reference and raise lower support points with approved adjustable legs or stable shims. Check level front-to-back and side-to-side, keep the box square, align adjacent faces and fasten only after the run is supported and verified.
1. Is the Room Uneven or Is the Cabinet Box Out of Square?
Test the cabinet and room separately before making an installation correction. A cabinet that is square on a flat surface but changes after placement points to floor, wall or fastening pressure. A cabinet that begins with unequal diagonals is an assembly problem.
| Observation | Likely source | Next check |
|---|---|---|
| Cabinet rocks before fastening | Uneven floor or unsupported base | Floor high and low points |
| Gap changes along the wall | Bowed wall or out-of-plumb surface | Straightedge and plumb reference |
| Door gaps change after screws are tightened | Cabinet pulled against the wall | Shim/support at fastening locations |
| Diagonals are unequal on a flat surface | Assembly or damaged cabinet box | Panel seating, back and connectors |
2. How Do You Check an Uneven Floor and Wall?
Create a simple condition map before moving cabinets into place. Mark floor highs and lows, wall bows, corners that are not square, structural support locations and any area where trim or services affect the cabinet run.
Map the floor
Use an appropriate long level, straightedge or laser reference along the complete run—not only where the first cabinet sits. Identify the highest floor point and measure the relative drop at every planned cabinet support location.
Map the wall
Check the wall horizontally and vertically. Mark where it bows toward or away from the cabinet, and locate suitable structural support using a method appropriate for the wall construction. Check for concealed electrical, plumbing or other services before drilling.
Map the corners and finished surfaces
Compare corners with the planned cabinet geometry and record baseboards, flooring transitions, bulkheads and finished ceiling conditions. These measurements affect corner units, tall panels, fillers and countertop templating.
For a pantry-specific pre-installation survey, use the guide to what to measure before installing a pantry cabinet.
3. How Do You Install Base Cabinets on an Uneven Floor?
Level the complete run from one reference rather than leveling each cabinet independently to the floor. Cabinet tops must create a stable common plane for the countertop.
Step 1: Establish the high-point reference
Use the floor map to identify the highest support point beneath the planned run. Confirm that the cabinet and finished counter height still work with windows, appliances, plumbing and other fixed elements before marking a level reference.
Step 2: Position the first reference cabinet
Place the first cabinet in the order required by the layout. Support it at the cabinet system’s intended load points and check side-to-side level, front-to-back level, plumb and cabinet-box square.
Step 3: Raise the low support points
Use the approved adjustable-leg system or stable, load-appropriate shims to close measured gaps. Do not balance a cabinet on one small point or place support where it distorts a thin panel.
Step 4: Add and align adjacent cabinets
Bring the next cabinet to the same reference. Support and level it independently, then clamp approved connection points or cabinet faces flush. Recheck both boxes before joining them; connectors should preserve alignment rather than pull an unsupported cabinet into position.
Step 5: Fasten without distorting the boxes
Fasten through the cabinet system’s designated structural location using a method compatible with the wall construction. Maintain support between the cabinet and an irregular wall at required fixing points so tightening does not rack the box.
Step 6: Verify the run before countertop templating
Check the complete top plane, front line, end panels and appliance openings. Correct movement or unsupported gaps before countertop measurement. Final door and drawer adjustment comes after the cabinets are level, joined and secure.
4. How Should Cabinet Shims Be Used?
Shims should create firm, continuous support at intended load and fastening points. They are not a substitute for repairing a severely unstable floor, damaged wall or cabinet base.
- Use stable material suitable for the cabinet, load and site conditions.
- Place support beneath structural base points, not unsupported thin edges.
- Use opposing tapered shims where appropriate to create a flat support surface.
- Keep wall shims at required fixing points so fasteners do not bend the cabinet toward the wall.
- Recheck cabinet square and level after every major adjustment.
- Trim exposed shim material only after the installation is verified and secure.
5. How Do You Install Cabinets Against a Bowed or Uneven Wall?
Keep the cabinet straight and accommodate the wall; do not force the cabinet to copy the wall’s shape. A bowed surface commonly creates changing gaps behind the cabinet and at exposed end fillers.
| Condition | Typical response | Avoid |
|---|---|---|
| Gap at a fixing location | Support the gap using the approved installation method | Tightening until the box bends |
| Visible gap at an end wall | Fit and scribe an appropriate filler or finished panel | Cutting the cabinet side without approval |
| Wall substantially out of plumb | Assess substrate repair or a designed support solution | Assuming trim alone will correct structure |
Wall cabinets and tall cabinets introduce fall and lifting hazards. Confirm the product’s mounting system, structural support and concealed-service locations before lifting or drilling. Do not rely on drywall alone or improvise a fixing method.
Where a scribed filler is used, cut the separate filler to the wall contour while preserving the cabinet’s straight face line and required door clearance.
6. How Do You Level a Pantry Cabinet on an Uneven Floor?
A tall pantry magnifies small base errors, so check level, plumb and support before fastening. Position the cabinet at the approved face line, support the base at intended load points and adjust the bottom until both sides are plumb and the cabinet aligns with adjacent tall units or panels.
- Verify that the assembled pantry box is square before moving it into the opening.
- Check standing-up clearance and use enough people or suitable equipment to handle the cabinet safely.
- Set the cabinet at its finished face line and test side-to-side and front-to-back level.
- Adjust approved feet or shim structural support points without twisting the box.
- Confirm door, appliance, filler and ceiling clearances.
- Fasten using the specified structural mounting method, then repeat final hinge adjustment.
Continue with the complete pantry cabinet installation Canada guide after the floor and wall conditions are resolved.
7. How Do Fillers, Panels and Toe Kicks Follow Uneven Surfaces?
Level cabinet boxes first; fit finishing components to the remaining irregularities afterward. Trim should conceal controlled gaps without becoming the structural support for the cabinet.
- Fillers: preserve door clearance and can be scribed to an irregular end wall.
- Finished panels: follow the planned face line; bottom or wall edges may require project-specific fitting.
- Toe kicks: conceal the supported base and may need trimming to follow the finished floor.
- Crown or top trim: should be assessed against ceiling variation without pulling tall cabinets out of plumb.
Confirm nominal cabinet and panel dimensions with the standard kitchen cabinet dimensions guide, then measure the actual site before cutting.
8. Mistakes to Avoid—and When to Stop
| Mistake | Why it fails | Better action |
|---|---|---|
| Starting at an unverified low point | The high floor later raises the run | Map the full floor first |
| Fastening before support and level | The cabinet can twist or remain unstable | Support, level, align, then fasten |
| Using screws to pull a cabinet to a bowed wall | The square box follows the wall distortion | Maintain the box and support the gap |
| Stacking unstable shim material | Support can settle or move | Use a stable approved correction or repair the substrate |
| Adjusting doors before installation is complete | Reveals change as the box is leveled and joined | Adjust hinges last |
Stop and use a qualified installer when the substrate is damaged or unstable, structural support cannot be verified, concealed services make drilling uncertain, the correction exceeds the cabinet system’s range or wall/tall cabinets cannot be handled safely.
For the wider pre-installation checklist, review seven RTA cabinet installation mistakes to avoid.
Planning Cabinets for an Uneven Room?
RTA Cabinet Depot can help review cabinet sizes, fillers, panels and the proposed kitchen layout before ordering.
Call +1 888 973 5636 or explore RTA kitchen cabinets.
9. Uneven Floor and Wall Cabinet FAQ
Can cabinets be installed on a sloped floor?
Yes, when the substrate is stable and the cabinet system can be brought to one supported level reference. Map the full run, start from the high floor point and raise lower structural support points with the approved leg or shim method.
Should cabinets follow the floor or remain level?
The cabinet run should remain level and properly supported rather than following a slope. Toe kicks and other finishing pieces can be fitted to the floor after the cabinet boxes establish the correct plane.
Can screws pull a cabinet tight to an uneven wall?
Fasteners should secure a correctly positioned cabinet, not bend it to match the wall. Support required gaps at fastening points using the approved method and use a scribed filler or panel for visible wall variation.
How do I know whether the cabinet or floor is causing uneven doors?
Check the cabinet’s diagonals and door operation on a flat surface before installation. If the box is square until it is placed or fastened, inspect base support, floor variation and pressure from the wall before changing hinge positions.
When should the countertop be measured?
Countertop measurement should happen after the base run is fully supported, level, aligned, joined and secured, with required panels and appliance openings confirmed. Correct any movement before templating.

Sang Vi is a Senior Interior Designer and founder of Wedesign Interior Lab, as well as CEO of the Wedesign Interior Lab, MOC Concepts (Kitchen Cabinets), and Sang Vi Woodworking Manufacturer group. Since 2019, Sang has led an NKBA-certified team specializing in kitchen planning and cabinetry, completing dozens of projects each year across Toronto and other regions in Canada. With deep, hands-on experience in both custom millwork and ready-to-assemble (RTA) kitchen cabinets, Sang focuses on creating designs that are functional, durable, and easy to install. On this RTA platform, Sang shares practical, real-world insights to help homeowners choose, plan, and optimize their kitchen cabinet systems with confidence.