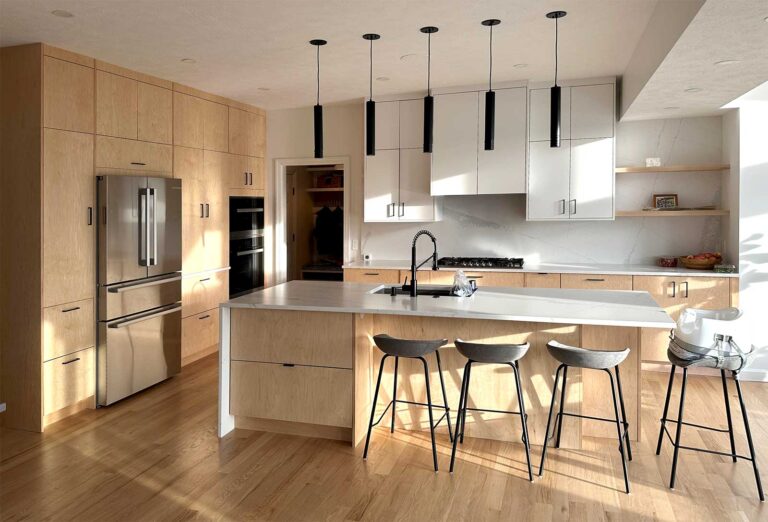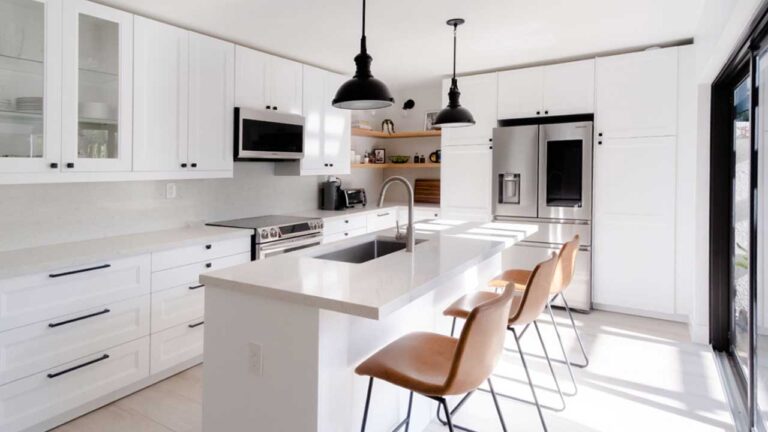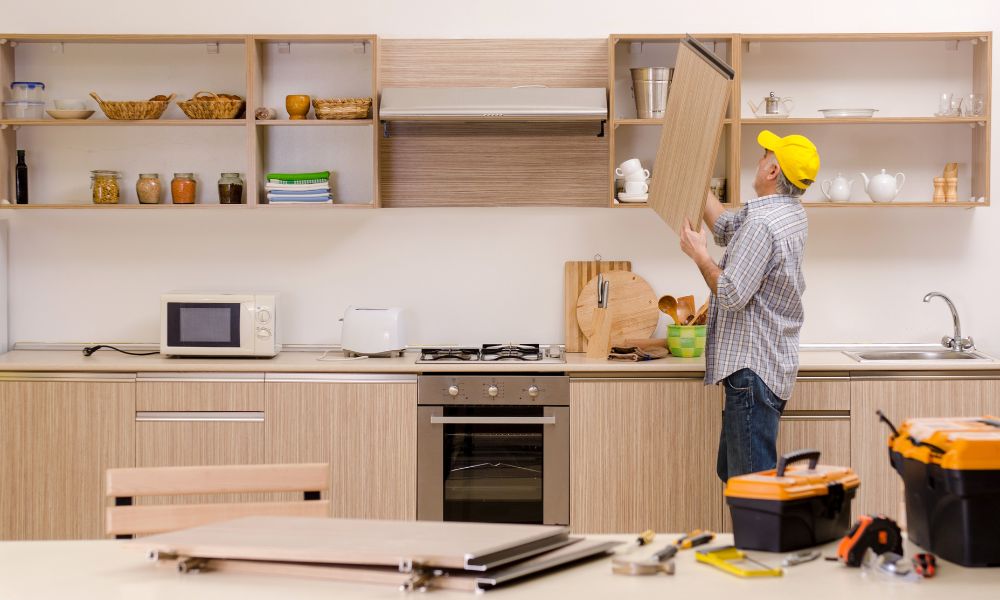
Uneven floors and walls are common in older homes, rental properties, condos and renovation projects across Canada. A kitchen may look simple on paper, but if the floor slopes or the wall is not straight, cabinet installation can quickly become harder. Cabinets may lean, door gaps may change, fillers may not fit cleanly and countertops may not sit correctly.
This guide explains how to install cabinets on uneven floors and handle uneven wall cabinet installation for RTA kitchen cabinets. It covers checking floor level, using shims, adjusting cabinet legs, keeping cabinet runs straight, planning fillers and leveling tall pantry cabinets before final wall fastening.
If your project includes a tall pantry cabinet, this article supports our main guide on pantry cabinet installation Canada. For pantry cabinets, leveling is especially important because a small adjustment at the bottom can create a visible change at the top.
Quick Answer: Can You Install Cabinets on Uneven Floors?
Yes, cabinets can be installed on uneven floors, but they must be leveled before final fastening. Installers usually find the high point of the floor, set the cabinet run from that reference, use shims or adjustable legs, check side-to-side and front-to-back level, then secure the cabinets once the face line and door gaps are correct.
In This Uneven Floor & Wall Cabinet Guide
1. Why Uneven Floors and Walls Matter for Cabinet Installation
Kitchen cabinets need a straight, level and stable reference line. If the floor is uneven, base cabinets can sit at different heights. If the wall is bowed or not plumb, wall cabinets may not sit tight against the wall. These problems can affect door gaps, countertop fit, filler panels, toe kicks and the final look of the kitchen.
Uneven floors and walls are not always obvious before installation starts. A small slope may not look serious in an empty room, but it becomes visible when a long cabinet run, countertop or tall pantry cabinet is installed.
Before you blame the cabinet, check the site condition. A cabinet can be assembled correctly but still look uneven if the floor or wall is not prepared for installation.
2. How to Check Uneven Floors and Walls Before Installation
Before installing RTA cabinets, check the floor, wall and corners. This helps you plan shims, adjustable legs, fillers and panels before the cabinets are fastened into place.
2.1 Check the Floor Level
Use a long level, laser level or straight reference line to check the floor along the cabinet run. Look for the highest point of the floor first. In many kitchen installations, the high point becomes the reference for setting the cabinet run so the finished countertop line can stay level.
2.2 Check the Wall
Place a long straightedge or level against the wall to see if the wall bows in or out. Mark areas where the wall is not straight. This helps you decide where fillers, scribe strips, shims or panel adjustments may be needed.
2.3 Check the Corners
Corners are often not perfectly square. If the kitchen has an L-shaped or U-shaped cabinet layout, corner accuracy matters because it affects base cabinet alignment, wall cabinet placement, countertop fit and appliance openings.
Tip: Check the room before assembling all cabinets. If the floor or wall needs major correction, it is better to know before the cabinet run is in place.
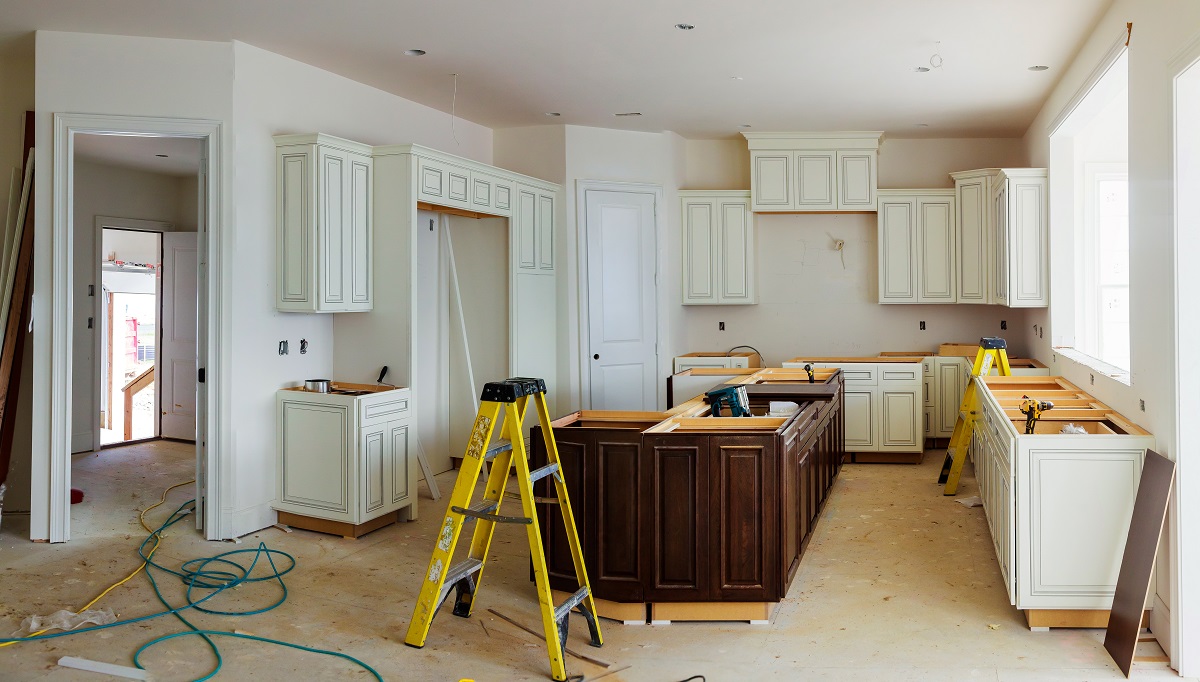
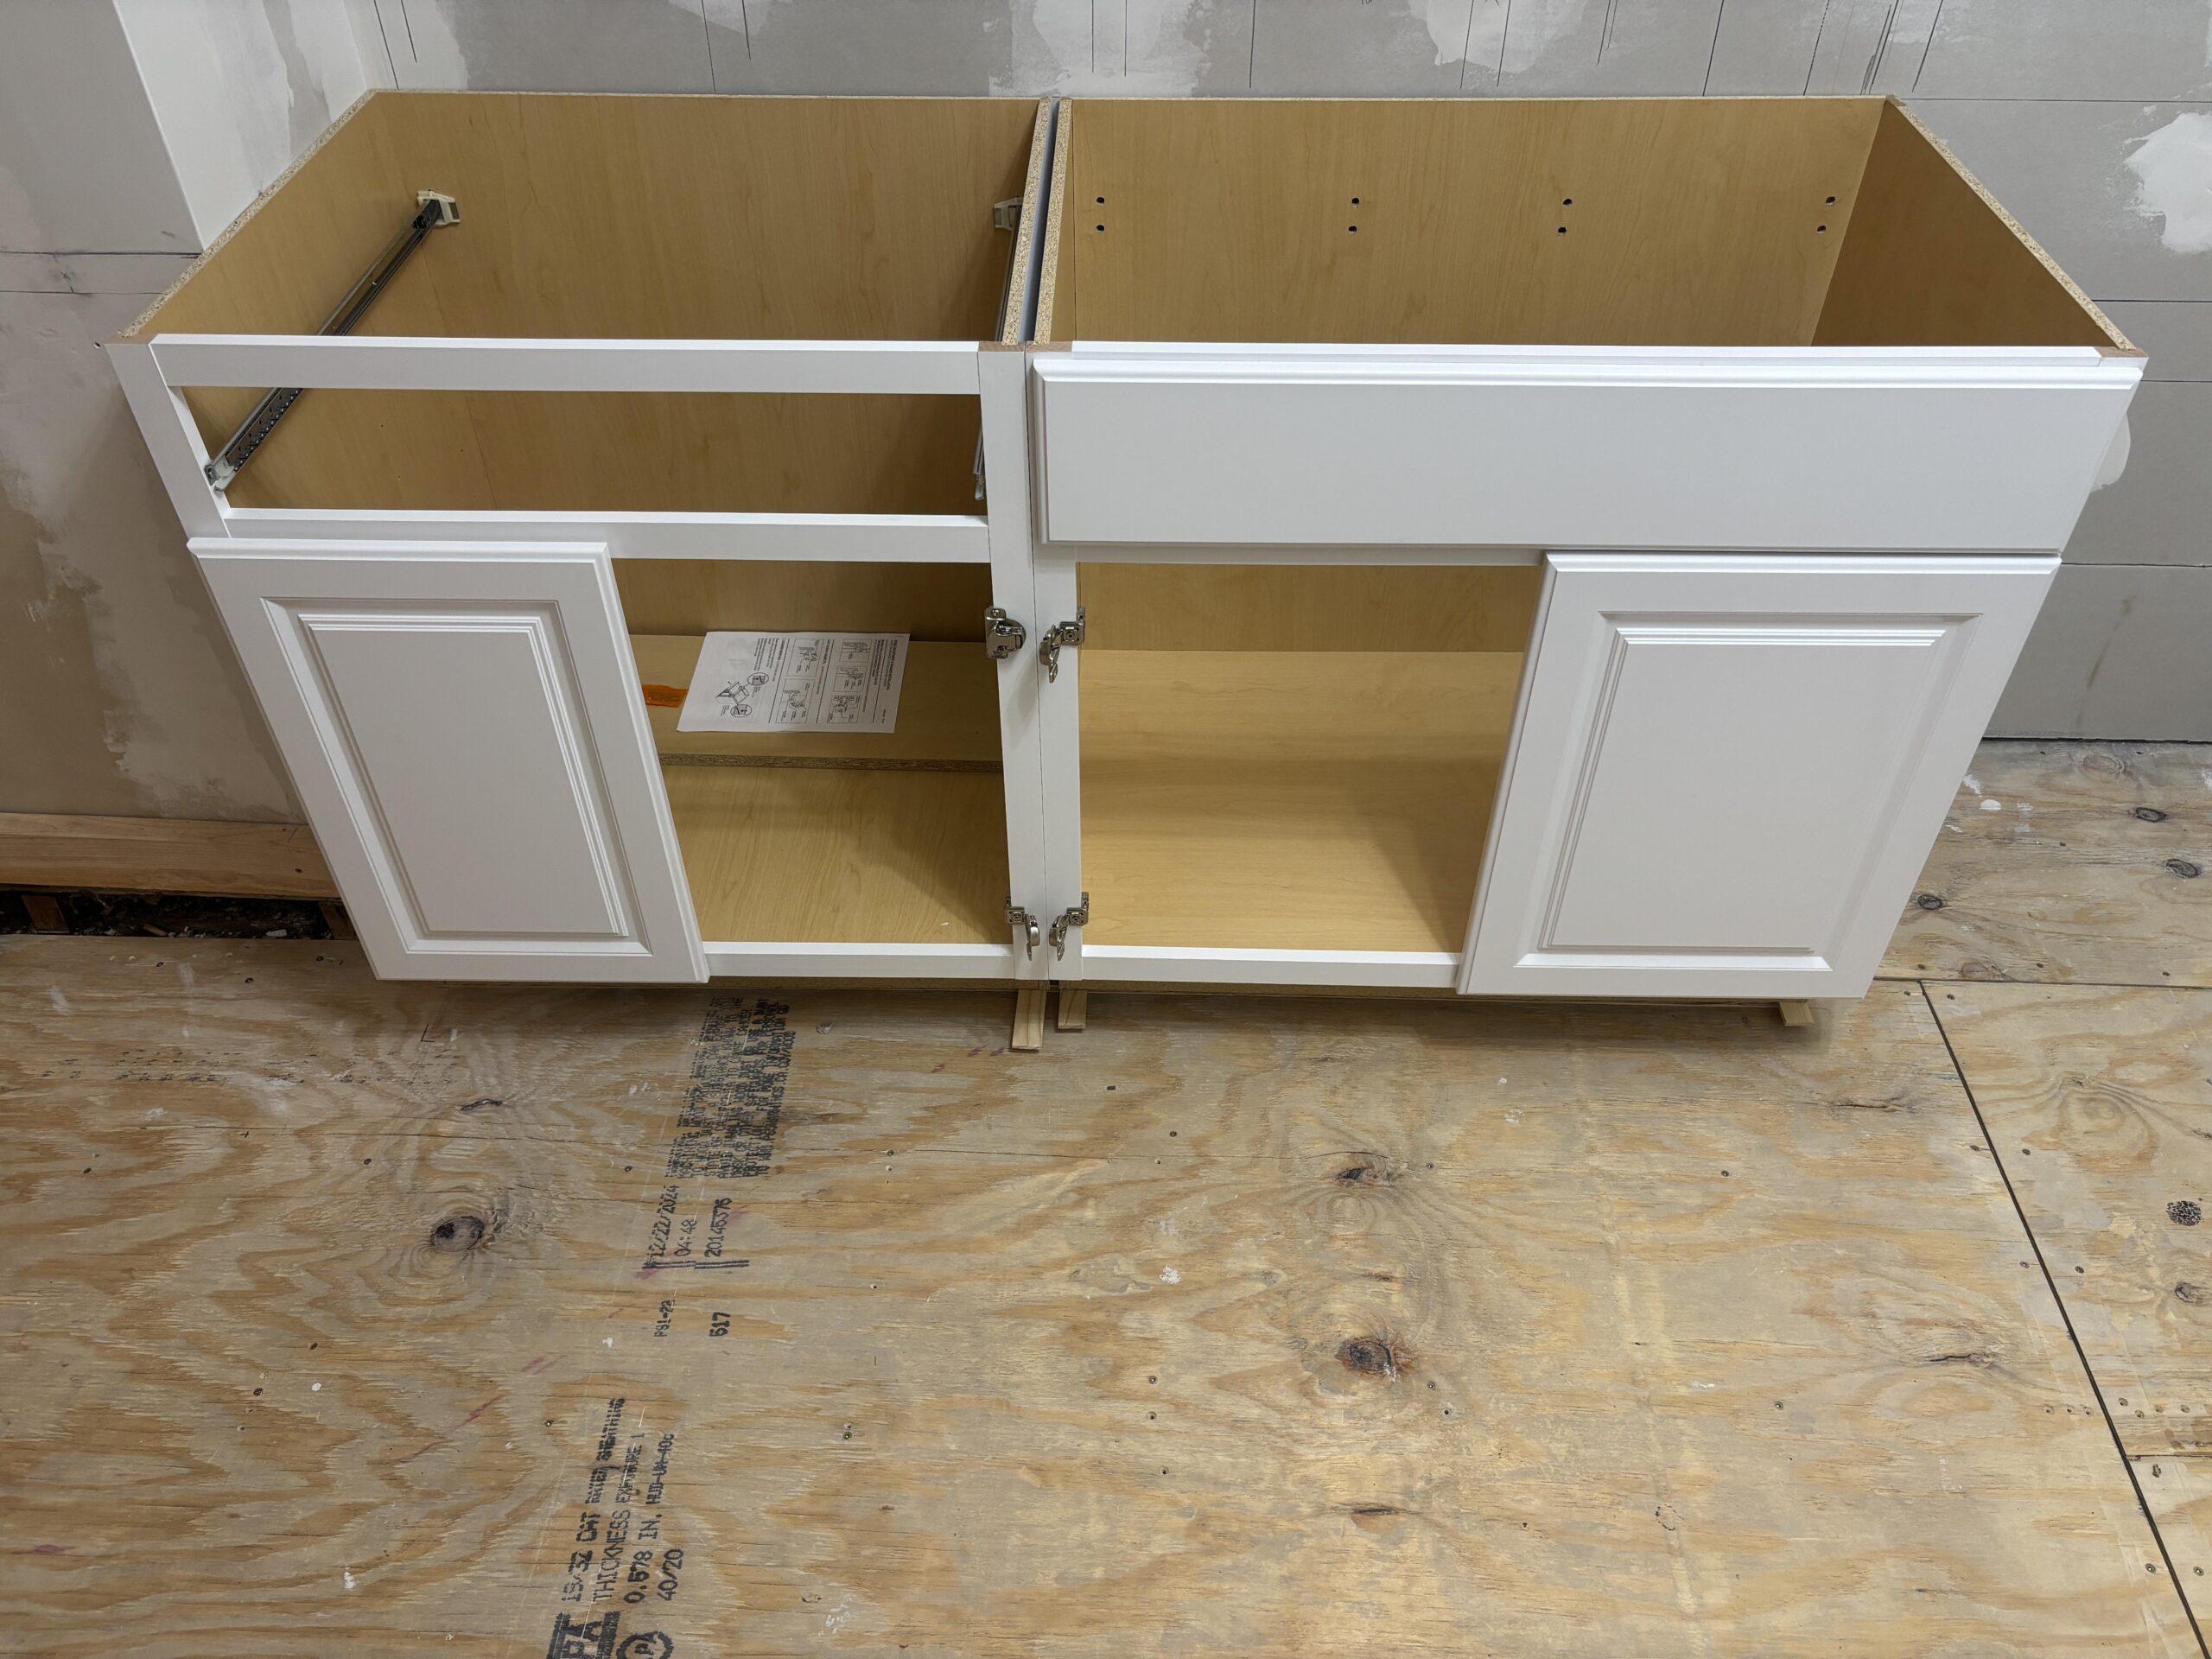
3. How to Install Base Cabinets on Uneven Floors
Base cabinets must be level before countertops are installed. If one cabinet is lower or higher than the next, the countertop may not sit correctly and the cabinet doors may not align. The goal is to create one consistent level line across the full cabinet run.
Step 1: Find the High Point of the Floor
Start by identifying the highest point along the cabinet run. This is important because you can raise lower cabinets with shims or adjustable legs, but you cannot easily push a cabinet below the highest floor point.
Step 2: Set a Level Reference Line
Use a level or laser to mark a level reference line on the wall. This gives the installer a consistent height to follow across the cabinet run and helps reduce uneven countertop and door alignment issues.
Step 3: Use Shims or Adjustable Legs
Depending on the cabinet system, use shims or adjustable cabinet legs to raise low areas. Check each cabinet from side to side and front to back before connecting it to nearby cabinets.
Step 4: Connect Cabinets Only After Leveling
Do not permanently connect cabinets together before they are aligned. Clamp cabinet faces flush, check the level again and then fasten cabinets together. This helps keep the face line straight and reduces visible door gap problems.
Step 5: Recheck Before Countertop Templating
Before countertop measurement or templating, recheck the full cabinet run. The cabinet tops should create a stable and level surface. Any major movement should be corrected before the countertop is measured.
If cabinet doors look uneven after installation, the issue may come from assembly, leveling or hinge adjustment. For assembly-related problems, read our RTA cabinet assembly problems and fixes guide.
4. Uneven Wall Cabinet Installation
Wall cabinets can be affected by uneven walls, bowed drywall, out-of-square corners and inconsistent ceiling height. If the wall is not straight, the cabinet may not sit flat against it. If the wall cabinet is forced into position, the cabinet box or doors may shift out of alignment.
How to Handle Uneven Walls Behind Wall Cabinets
- ✓Locate wall studs before lifting the cabinet.
- ✓Mark a level line for the bottom or top of the wall cabinet run.
- ✓Use shims where needed so the cabinet box stays straight.
- ✓Do not over-tighten screws if doing so pulls the cabinet box out of square.
- ✓Use fillers or scribe pieces where wall gaps need a cleaner finished edge.
Wall cabinets should be secured into wall studs, not only drywall. For RTA cabinets, always confirm that the cabinet box is assembled square before it is lifted into place. A twisted cabinet box combined with an uneven wall can make door adjustment much harder.
5. How to Level a Pantry Cabinet on Uneven Floors
A pantry cabinet is taller than most base cabinets, so leveling mistakes are more visible. If the bottom of a pantry cabinet is slightly off, the top of the cabinet can look noticeably out of line. The doors may also swing open, rub, or show uneven gaps from top to bottom.
To how to level a pantry cabinet correctly, place the tall cabinet in its planned location, check side-to-side level, check front-to-back level, adjust with shims or legs, confirm the face line with nearby cabinets, then secure the cabinet to wall studs only after it is stable and aligned.
Do not fully load a pantry cabinet before it is leveled and secured. Tall cabinets often store heavy food, cookware, small appliances and household items, so they should be stable before regular use.
6. Fillers, Panels and Toe Kicks on Uneven Floors
Fillers, panels and toe kicks often reveal uneven floor and wall conditions. Even when the cabinet boxes are level, the surrounding trim may need adjustment to create a clean finished look.
Fillers
Fillers help cabinets fit against walls, corners and appliances. If a wall is uneven, fillers may need to be scribed or adjusted so the finished line looks clean.
Panels
Side panels and fridge panels should line up with the cabinet face line. If the floor slopes, panel height and bottom finishing may need extra care.
Toe Kicks
Toe kicks may show floor unevenness more clearly than cabinet boxes. If the floor is wavy, the toe kick may need careful trimming or adjustment for a cleaner finished appearance.
For sizing before installation, you can also read our standard kitchen cabinet dimensions guide.
7. Common Mistakes When Installing Cabinets on Uneven Floors
Uneven floor and wall conditions can be handled, but mistakes during installation can make the finished kitchen look misaligned. Avoid these common problems.
- ✓Starting from a low point: Always identify the high point before setting the cabinet run.
- ✓Fastening before leveling: Do not secure cabinets permanently before checking level and alignment.
- ✓Ignoring front-to-back level: A cabinet may look level from left to right but still lean forward or backward.
- ✓Over-tightening into an uneven wall: This can pull the cabinet box out of square.
- ✓Adjusting doors too early: Final hinge adjustment should happen after the cabinet is installed and leveled.
For more installation issues, visit our guide on common mistakes when installing RTA cabinets.
Need Help Planning Cabinets for Uneven Floors or Walls?
RTA Cabinet Depot supplies ready-to-assemble kitchen cabinets for homeowners, contractors and renovation projects across Canada. We can help you plan cabinet sizing, pantry cabinet placement, fillers and installation preparation before your project starts.
Explore our RTA kitchen cabinets or review our pantry cabinet installation Canada guide before installing tall cabinets.
Visit: https://www.rtadepot.ca/
8. Uneven Floor Cabinet Installation FAQ
Can cabinets be installed on uneven floors?
Yes, cabinets can be installed on uneven floors if the installer levels the cabinet run correctly. The installer should find the high point of the floor, set a level reference line, use shims or adjustable legs and check the cabinets before final fastening.
How do you level base cabinets on a sloped floor?
To level base cabinets on a sloped floor, start from the highest point, set a level line and raise low areas with shims or adjustable legs. Check each cabinet from side to side and front to back before connecting the cabinet run.
How do you install wall cabinets on uneven walls?
For uneven wall cabinet installation, mark a level reference line, locate wall studs, keep the cabinet box square and use shims where needed. Avoid over-tightening screws if it pulls the cabinet out of alignment. Fillers or scribe pieces may be needed for a cleaner finish.
How do you level a pantry cabinet?
To level a pantry cabinet, check side-to-side level, front-to-back level and the face line with nearby cabinets. Adjust from the bottom with shims or cabinet legs, then secure the pantry cabinet to wall studs after it is stable and aligned.
Should cabinet doors be adjusted before or after leveling?
Cabinet doors should usually be adjusted after the cabinet is installed, leveled and secured. If the doors are adjusted before leveling, the gaps may change once the cabinet is connected to the wall or nearby cabinets.

Sang Vi is a Senior Interior Designer and founder of Wedesign Interior Lab, as well as CEO of the Wedesign Interior Lab, MOC Concepts (Kitchen Cabinets), and Sang Vi Woodworking Manufacturer group. Since 2019, Sang has led an NKBA-certified team specializing in kitchen planning and cabinetry, completing dozens of projects each year across Toronto and other regions in Canada. With deep, hands-on experience in both custom millwork and ready-to-assemble (RTA) kitchen cabinets, Sang focuses on creating designs that are functional, durable, and easy to install. On this RTA platform, Sang shares practical, real-world insights to help homeowners choose, plan, and optimize their kitchen cabinet systems with confidence.