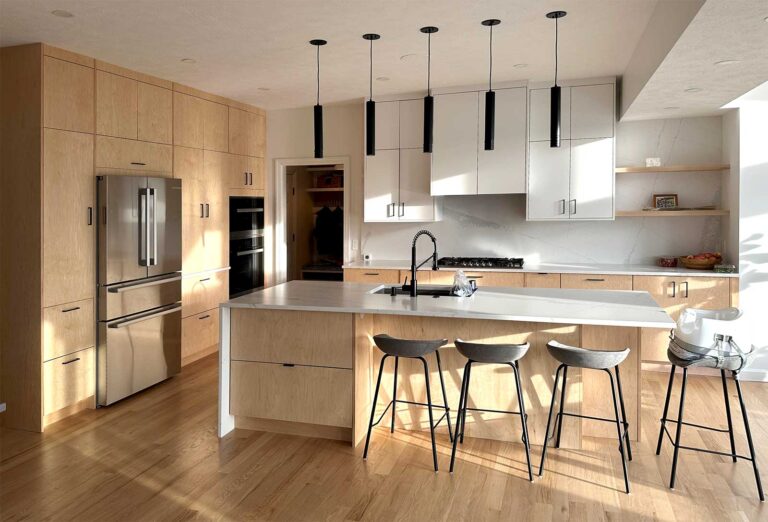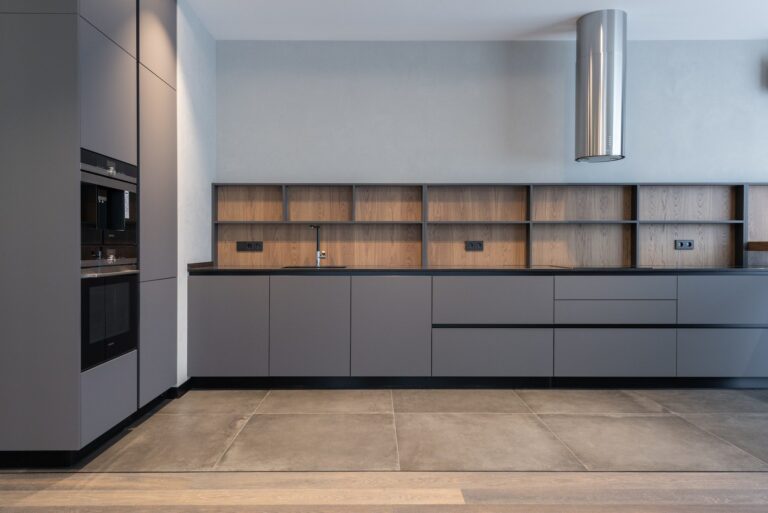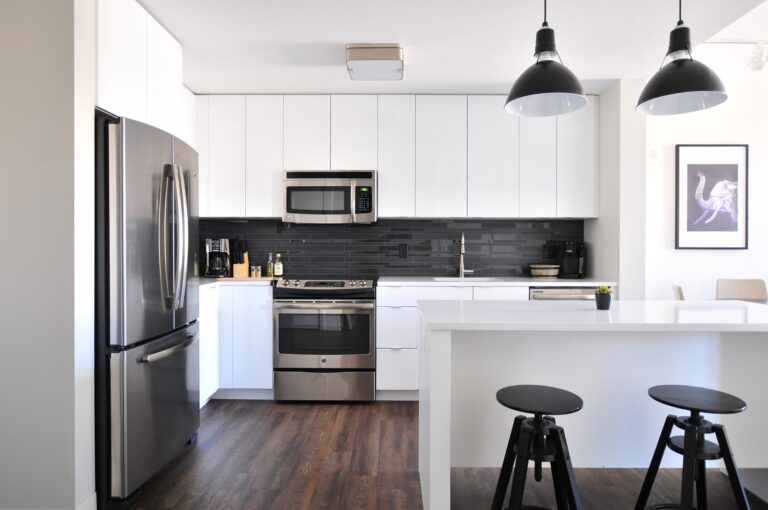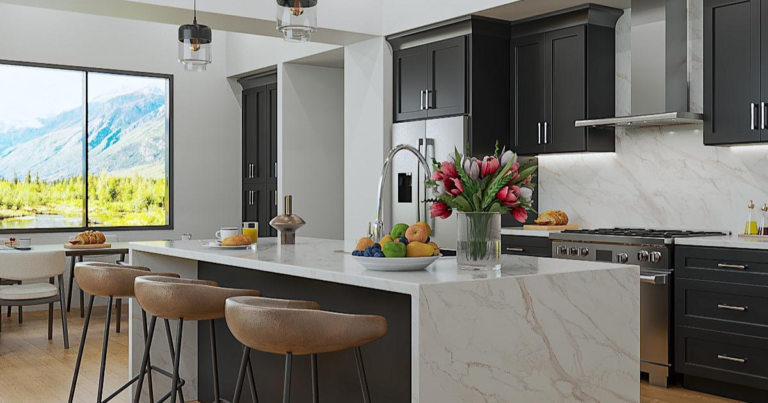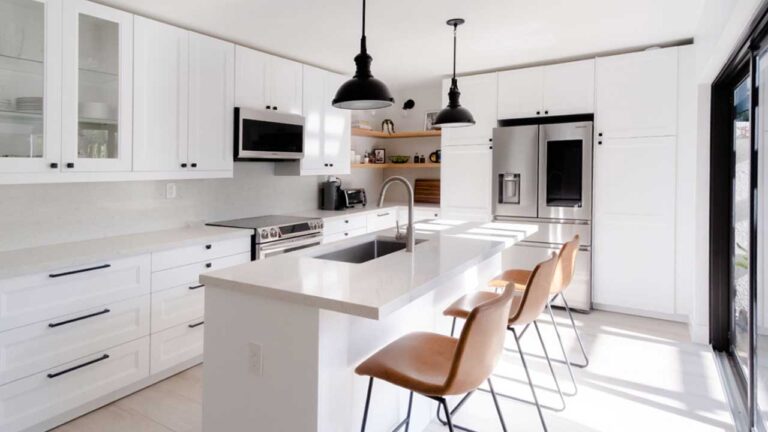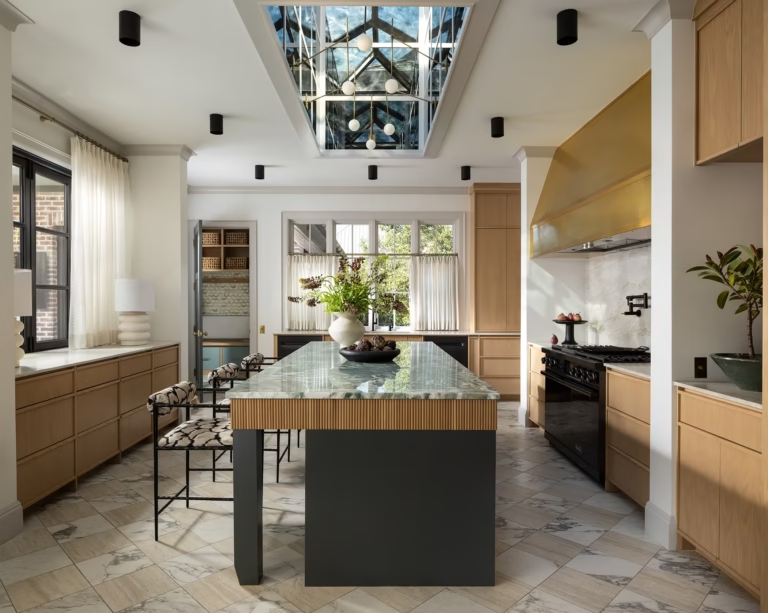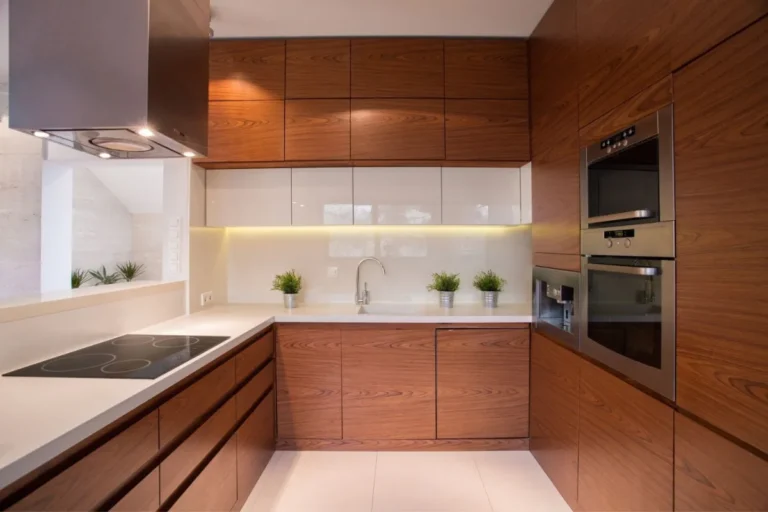

Kitchen cabinet installation is the stage where accurate planning, square cabinet boxes and careful leveling become one aligned cabinet run. The work should follow a controlled sequence: verify the room, prepare the cabinets, establish level reference lines, secure structural units, join adjacent boxes and complete final door and drawer adjustments.
This Canadian guide explains the installation workflow for ready-to-assemble and pre-assembled kitchen cabinets. It focuses on cabinet positioning and fastening—not plumbing, electrical work, countertop fabrication or structural alterations. Product instructions, local building requirements and the actual wall construction always take priority over a generic sequence.
Quick Answer: What Is the Correct Kitchen Cabinet Installation Sequence?
Confirm the final layout and measurements, assemble and inspect every cabinet box, find the floor high point, mark level reference lines, locate structural framing, install the wall-cabinet support system, level and join the base cabinets, position tall units, then fit doors, drawers, fillers and trim. Do not fasten a cabinet permanently until its position, level, plumb, clearances and relationship to adjacent cabinets have been checked.
Kitchen Cabinet Installation Workflow at a Glance
| Stage | Main Check | Do Not Proceed Until |
|---|---|---|
| Room verification | Finished dimensions, services and clearances | The layout matches the actual room |
| Cabinet preparation | Square boxes, correct parts and hardware | Every cabinet passes inspection |
| Layout lines | Floor high point, level lines and stud locations | Reference marks are verified |
| Wall cabinets | Structural fastening, level and plumb | The run is aligned and supported |
| Base and tall cabinets | Shimming, joining and appliance openings | The complete run is level and square |
| Final fit | Fillers, doors, drawers and trim | All moving parts have safe clearance |
1. Verify Measurements, Layout and Clearances
Compare the cabinet plan with the finished room before moving cabinets into position. Recheck wall lengths, ceiling height, window and door trim, plumbing, electrical locations, appliance specifications and finished floor thickness. The layout must also account for fillers, door swing, drawer travel and access panels.
For a detailed pre-installation checklist, use what to measure before installing a pantry cabinet. Even when the project uses base and wall cabinets, the same checks for ceiling, wall, floor, service and clearance conditions apply. Compare cabinet sizes with the kitchen cabinet dimensions guide.
2. Assemble and Inspect the Cabinet Boxes
RTA cabinet boxes must be assembled square before installation. Confirm panel orientation, seat the back correctly, compare diagonal measurements and inspect every connector. A wall fastener cannot correct a twisted or out-of-square cabinet box.
Follow the complete step-by-step RTA cabinet assembly guide. If a connector will not engage, a back panel will not seat or the diagonals remain unequal, stop and use the RTA cabinet assembly problems and fixes guide before installation.
3. Establish the Floor High Point and Level Reference Lines
Survey the finished floor across the entire cabinet run and identify its highest point. Base-cabinet reference lines are established from that point so the run can be shimmed upward without creating a cabinet that sits below the intended finished height. Mark the cabinet outlines and verify the line with a reliable laser or long spirit level.
Walls and floors are rarely perfectly straight. Use controlled shimming and verified reference lines instead of forcing the cabinet boxes against an irregular surface. The separate guide to installing cabinets on uneven floors and walls explains how to manage these conditions without twisting the boxes.
4. Install Wall Cabinets with Structural Support
Locate the structural framing or approved mounting system before lifting a wall cabinet. Confirm the fastener type and embedment required for the actual wall construction. Drywall alone is not structural support for a loaded cabinet. Use adequate help, a temporary ledger or a cabinet lift where appropriate, and keep the cabinet supported until the structural fasteners are engaged.
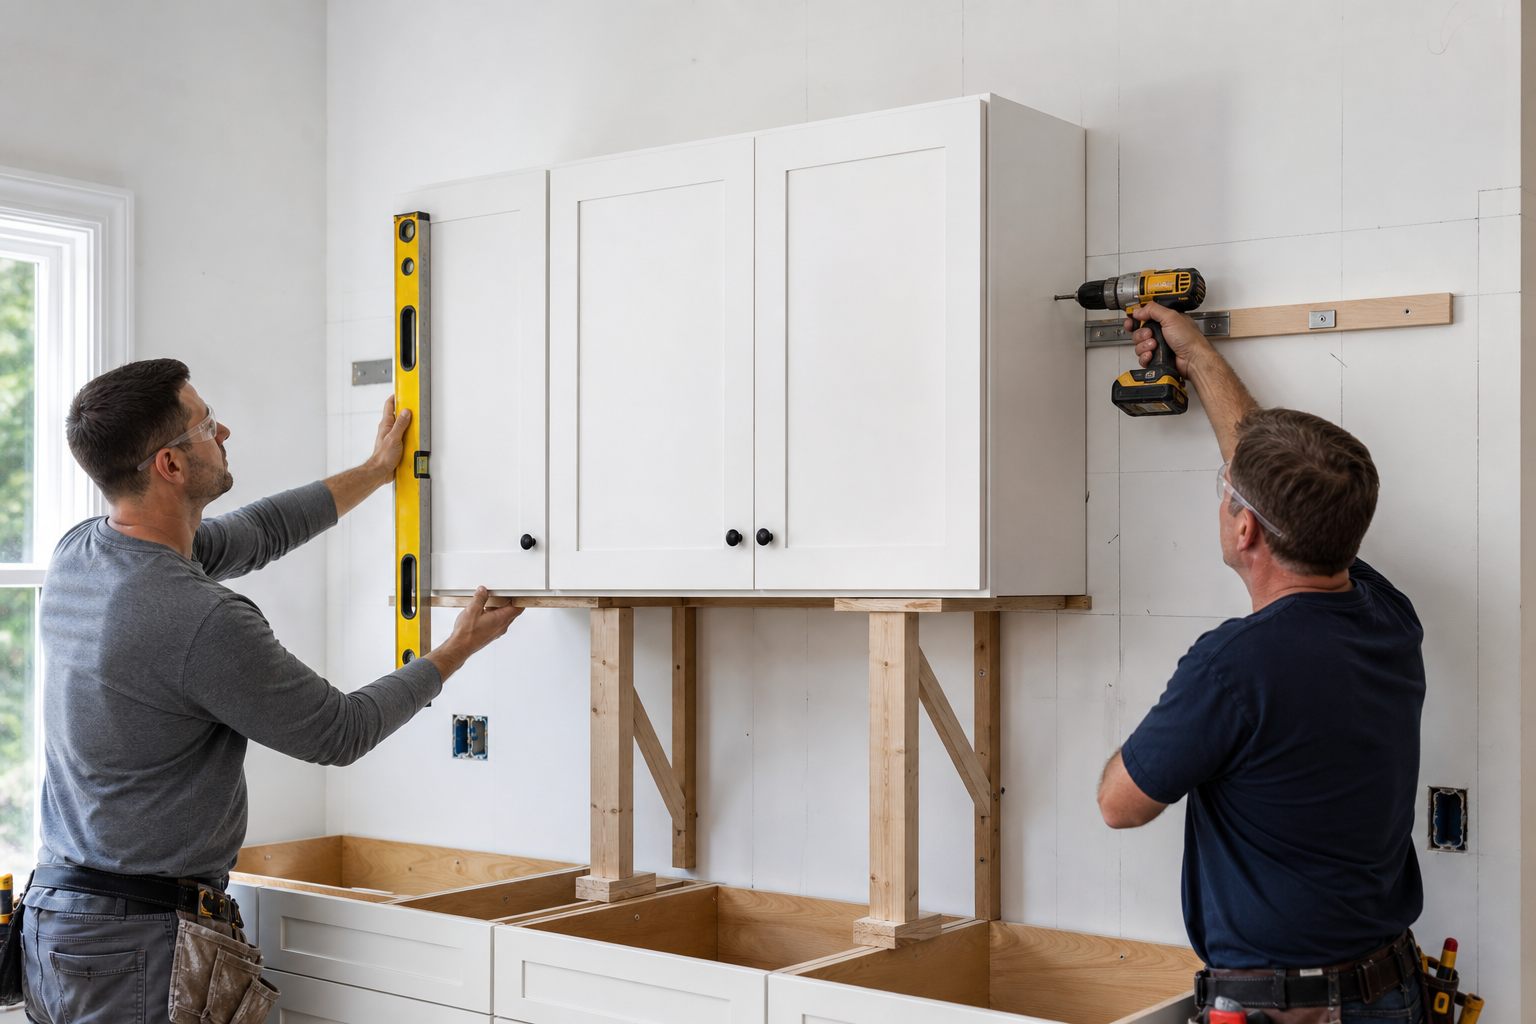
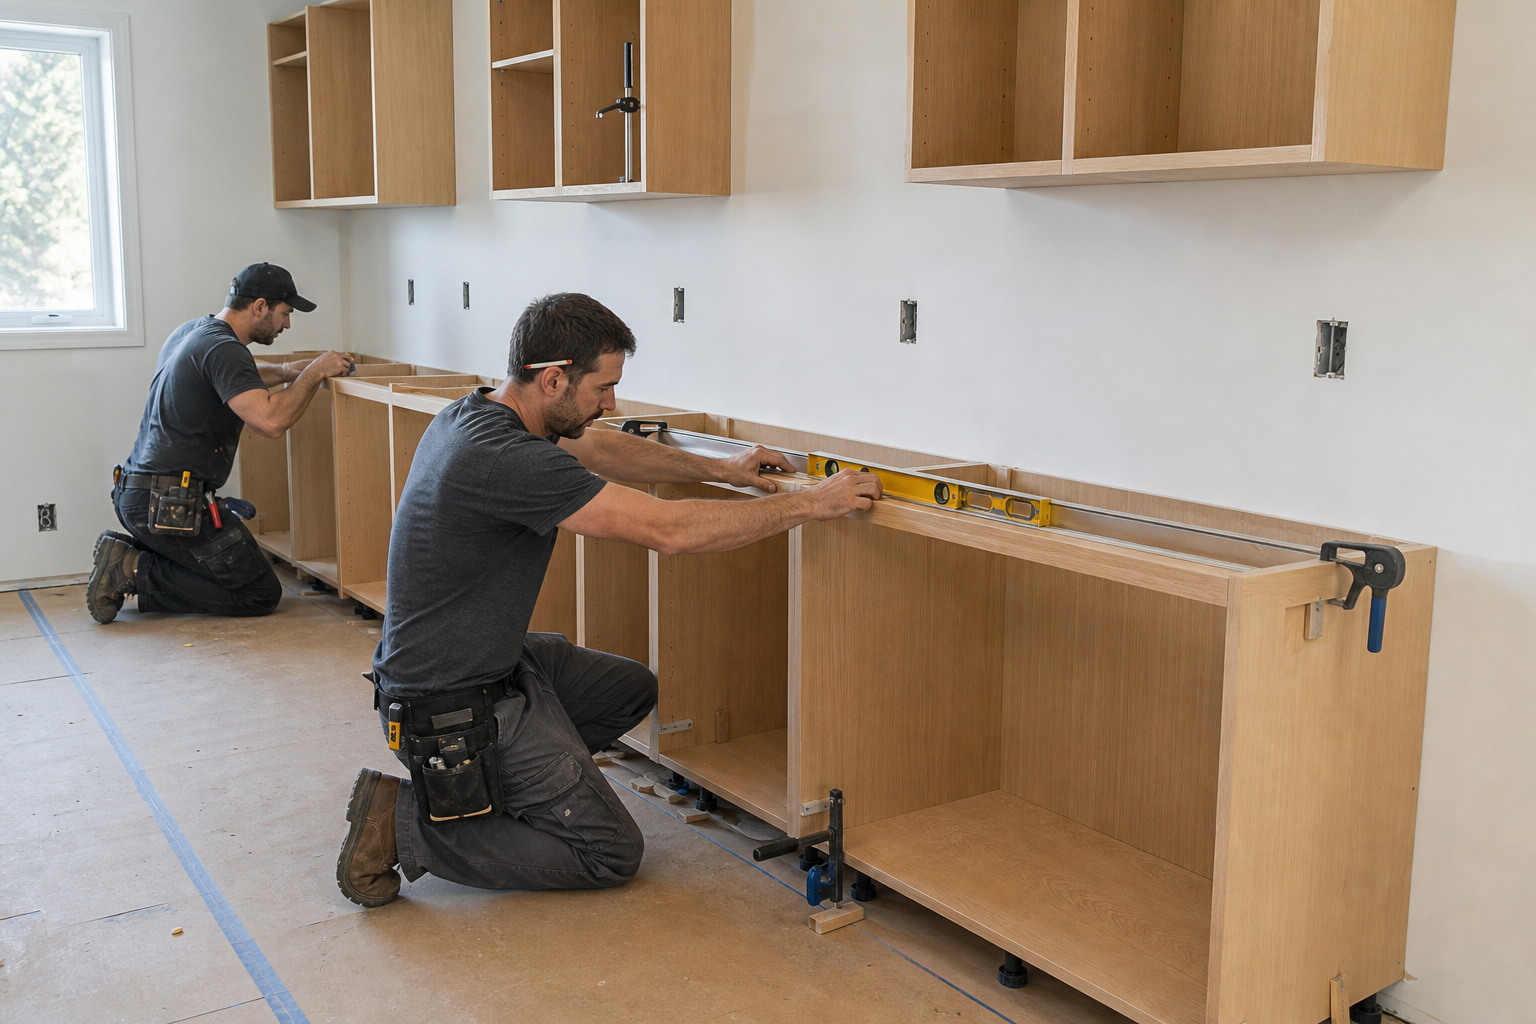
Position the first cabinet, check level and plumb, then connect the adjacent cabinet only after the face edges and top lines align. Predrill joining locations where required and protect finished surfaces from clamp damage. Recheck the whole run before final tightening.
5. Level, Join and Secure the Base Cabinets
Start from a verified corner, end condition or appliance opening identified in the layout. Position the first base cabinet at the reference line, shim it at structural bearing points and check front-to-back and side-to-side level. Do not rely on the countertop to pull an uneven cabinet run into alignment.
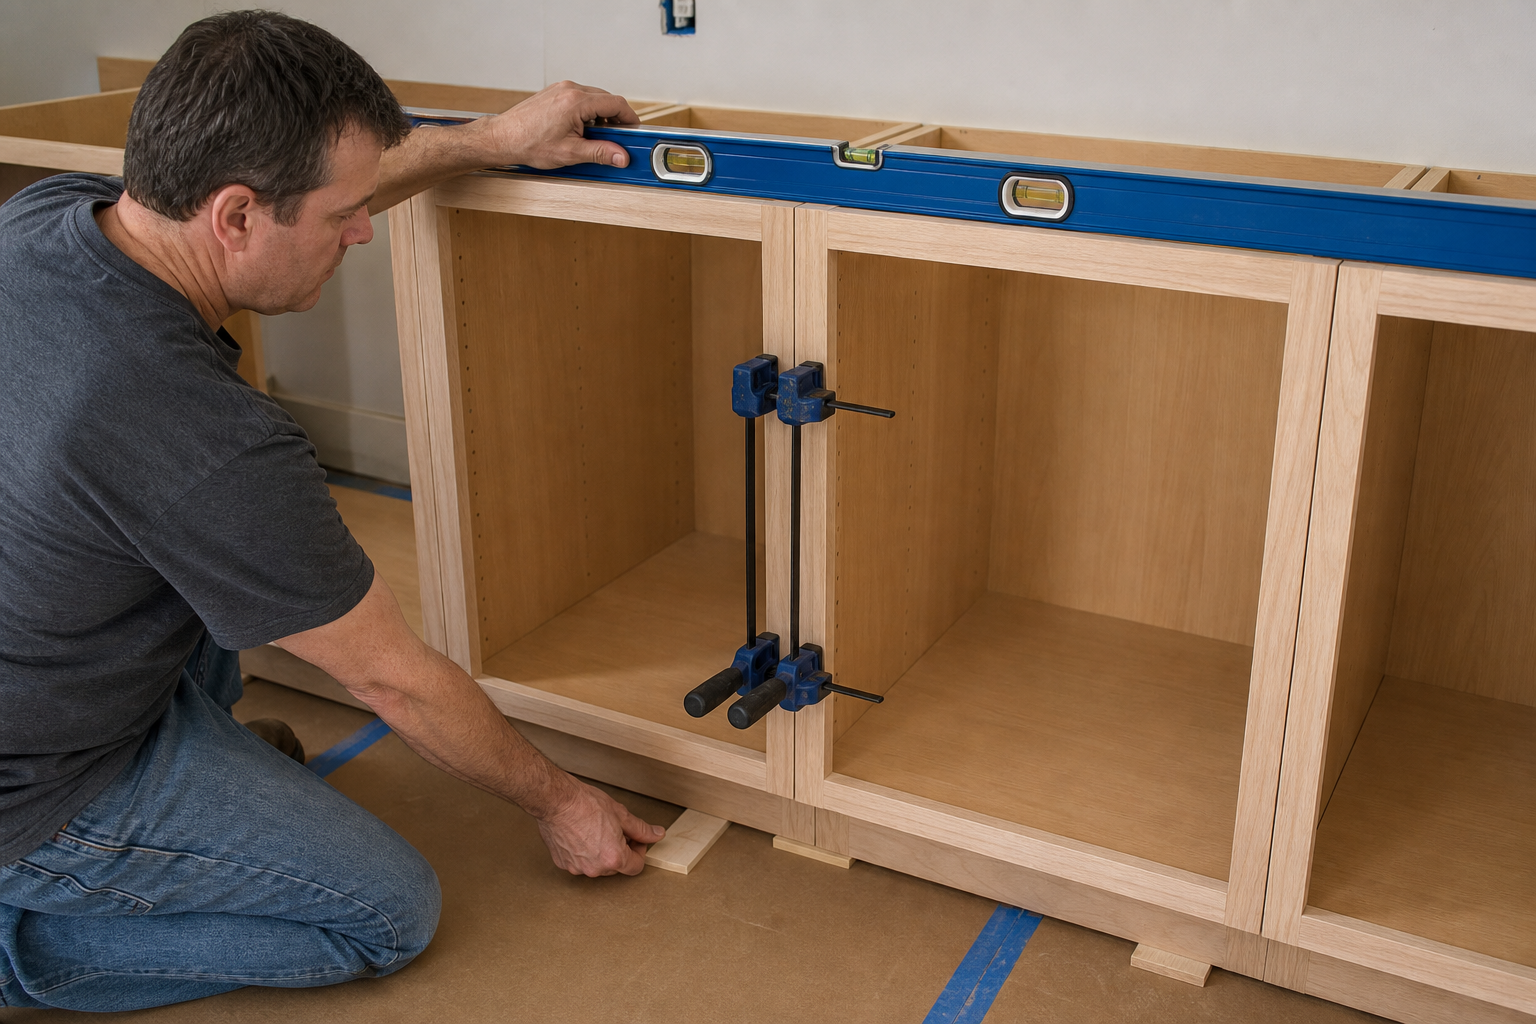
- Set the first cabinet to the reference line and verify level, plumb and position.
- Position the next cabinet and align the face edges without forcing the boxes together.
- Clamp at protected locations and join the cabinets using the approved method.
- Recheck the top line, face alignment and appliance opening before wall fastening.
- Trim shims only after the cabinet run is fully secured and rechecked.
6. Position Tall and Pantry Cabinets Safely
Tall cabinets require a planned raising path, adequate ceiling clearance and reliable wall anchorage. Confirm the cabinet location before raising it because ceiling projections, bulkheads, door casing and nearby appliances can limit movement. Remove loose shelves and drawers to reduce weight.
Use the dedicated pantry cabinet installation guide for the full nine-step process. If the layout is still being planned, review where to place a pantry cabinet before finalizing services and fillers.
7. Complete Fillers, Doors, Drawers and Final Checks
Install fillers and trim only after the cabinet run is stable and all required clearances are confirmed. Fit doors, drawers and adjustable shelves after the structural work is complete. Final hinge and drawer-front adjustments belong at the end because cabinet installation can slightly change visible gaps.
- ✓ Cabinet boxes are level, plumb, square and securely supported.
- ✓ Appliance openings match the approved specifications.
- ✓ Doors and drawers open without striking walls, appliances or handles.
- ✓ Fillers, panels and trim do not conceal a service point that must remain accessible.
- ✓ Countertop support surfaces form one verified plane.
How Long Does Kitchen Cabinet Installation Take?
The schedule depends on room readiness, cabinet quantity, installer experience, cabinet type and site conditions. A small, prepared kitchen with assembled boxes may require only a short installation window, while a larger project with tall units, difficult walls, fillers and appliance panels requires more time. Delivery, cabinet assembly, countertop templating and trade work should be scheduled separately from the cabinet-installation window.
| Project Condition | Schedule Effect |
|---|---|
| Cabinets assembled and inspected | Reduces on-site interruptions |
| Uneven walls or floors | Adds layout, scribing and shimming time |
| Tall units and appliance panels | Adds handling and clearance checks |
| Missing parts or unresolved services | Can stop the installation completely |
Avoid Problems Before Final Fastening
The most damaging errors usually occur before the final fastener is driven: working from an unverified measurement, ignoring the floor high point, fastening cabinets before the run is aligned, using unsuitable support, forgetting fillers or adjusting doors too early. Review the complete guide to seven RTA cabinet installation mistakes to avoid before installation day.
Prepare the correct measuring, clamping and fastening equipment in advance. The RTA cabinet installation tools checklist explains what each tool is used for and which items depend on the cabinet and wall system.
Plan the Cabinet Run Before Installation Day
Confirm the cabinet list, layout, appliance specifications and room conditions before scheduling installation. RTA Depot can help review cabinet sizes and layout requirements before ordering. Browse RTA kitchen cabinets or arrange a kitchen design consultation.

Sang Vi is a Senior Interior Designer and founder of Wedesign Interior Lab, as well as CEO of the Wedesign Interior Lab, MOC Concepts (Kitchen Cabinets), and Sang Vi Woodworking Manufacturer group. Since 2019, Sang has led an NKBA-certified team specializing in kitchen planning and cabinetry, completing dozens of projects each year across Toronto and other regions in Canada. With deep, hands-on experience in both custom millwork and ready-to-assemble (RTA) kitchen cabinets, Sang focuses on creating designs that are functional, durable, and easy to install. On this RTA platform, Sang shares practical, real-world insights to help homeowners choose, plan, and optimize their kitchen cabinet systems with confidence